


Introduction:
Welcome to this comprehensive guide on setting up a secure and resilient Virtual Private Cloud (VPC) environment for hosting production servers on the AWS Cloud. In this tutorial, we'll walk you through the step-by-step process of creating a robust infrastructure that ensures both security and high availability.
Step-by-Step Guide:
Step 1: Creating the VPC
Navigate to the AWS Management Console and click on "VPC and more"
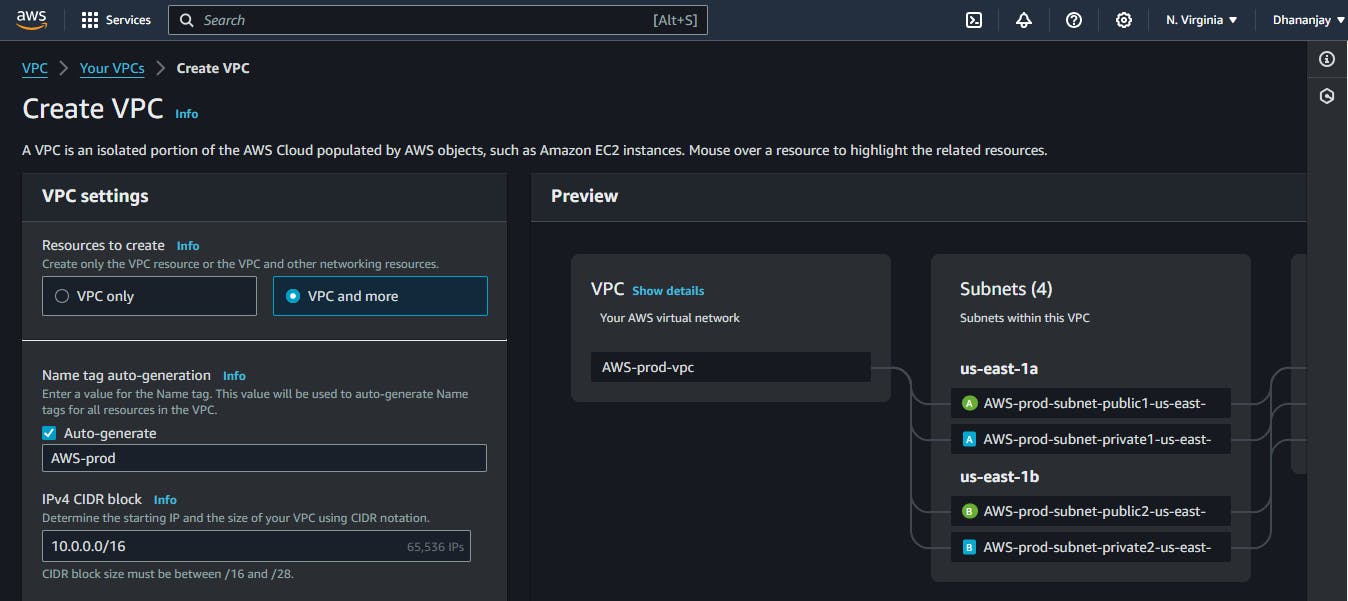

Select the VPC option.
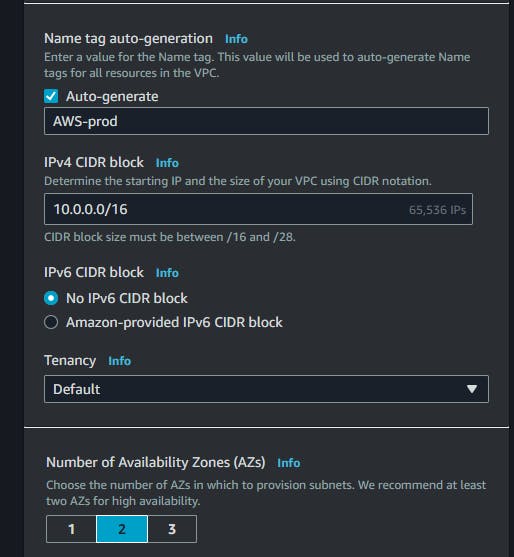
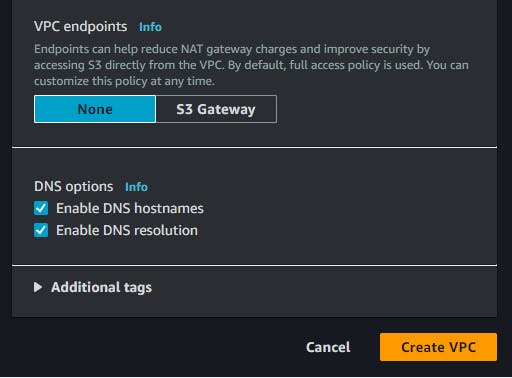
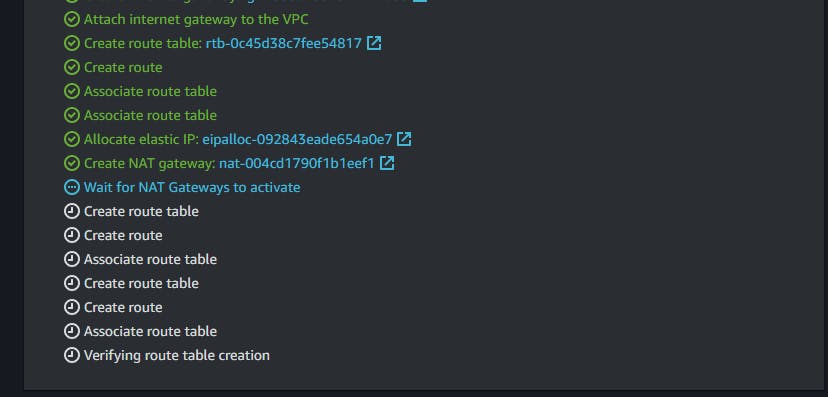
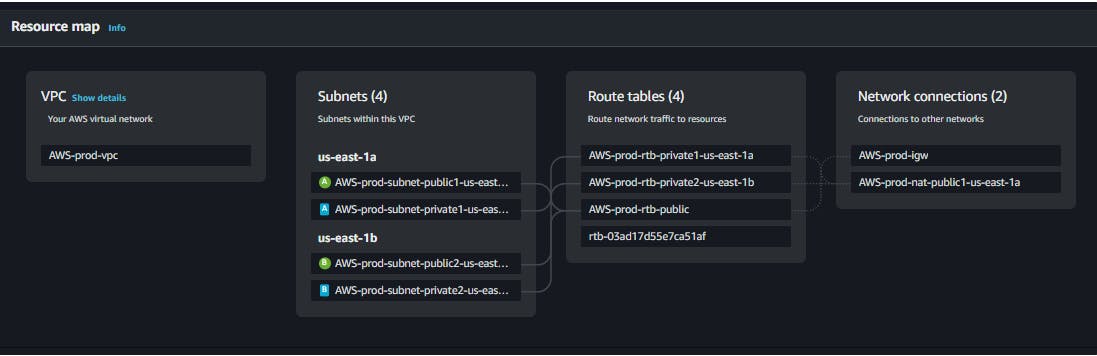
Customize your VPC by selecting and deselecting resources based on your requirements.
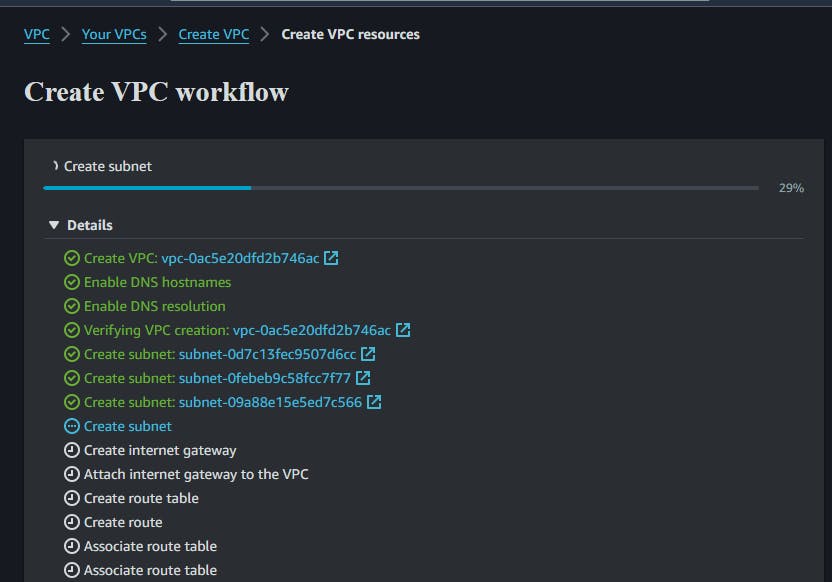
AWS will begin creating the selected resources. Please wait until the process completes
Step 2: Setting up Auto Scaling Group (ASG) and Launch Templates
Navigate to the EC2 Dashboard and click on "Auto Scaling Groups" under "Auto Scaling".
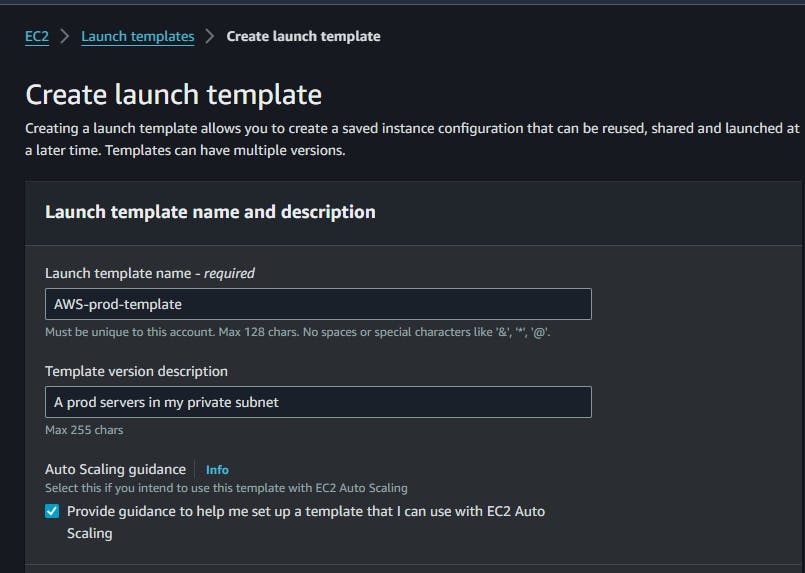
Click on "Launch Templates" and provide the necessary details:
Name and description for the launch template.
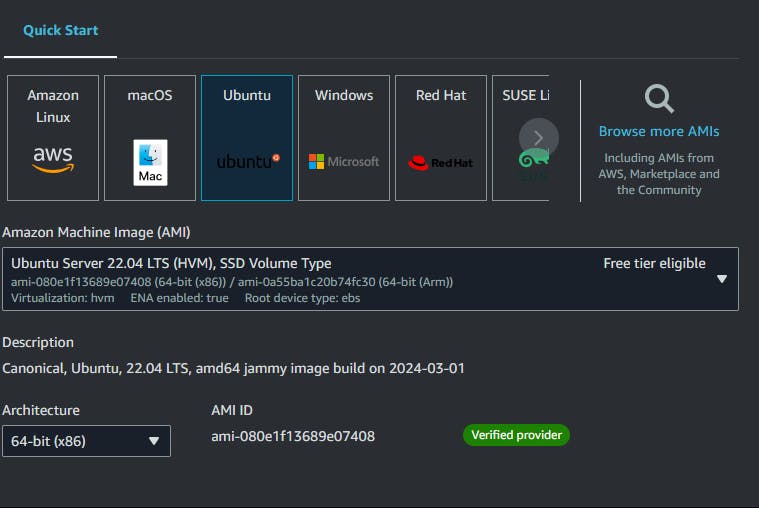
Instance configuration (e.g., Ubuntu t2.micro).
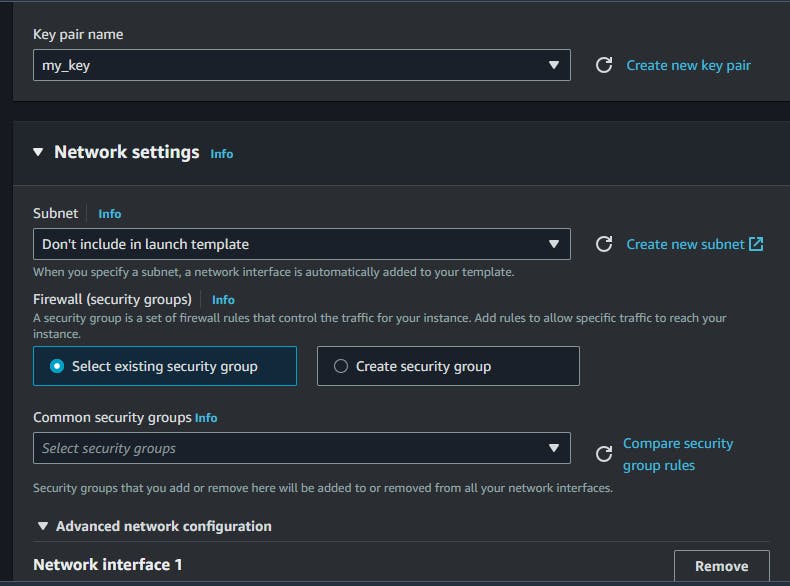
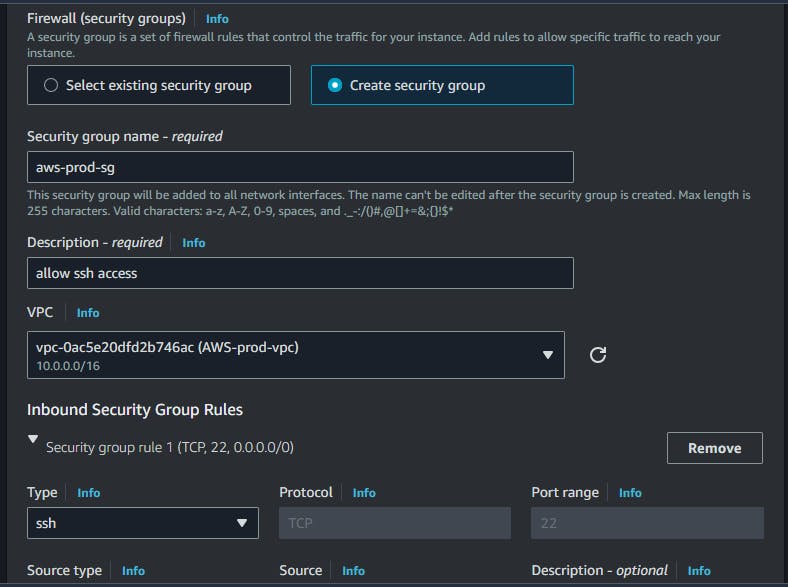
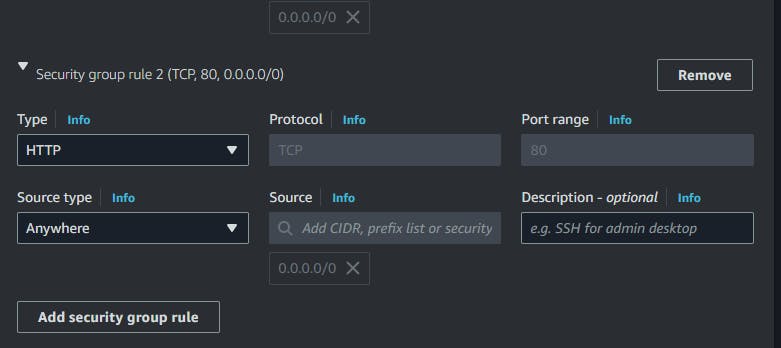
Security group allowing SSH (port 22) and HTTP (port 80) access.
Select the VPC created in Step 1.
Next, create an Auto Scaling Group with the following configurations:
Choose the launch template created earlier.
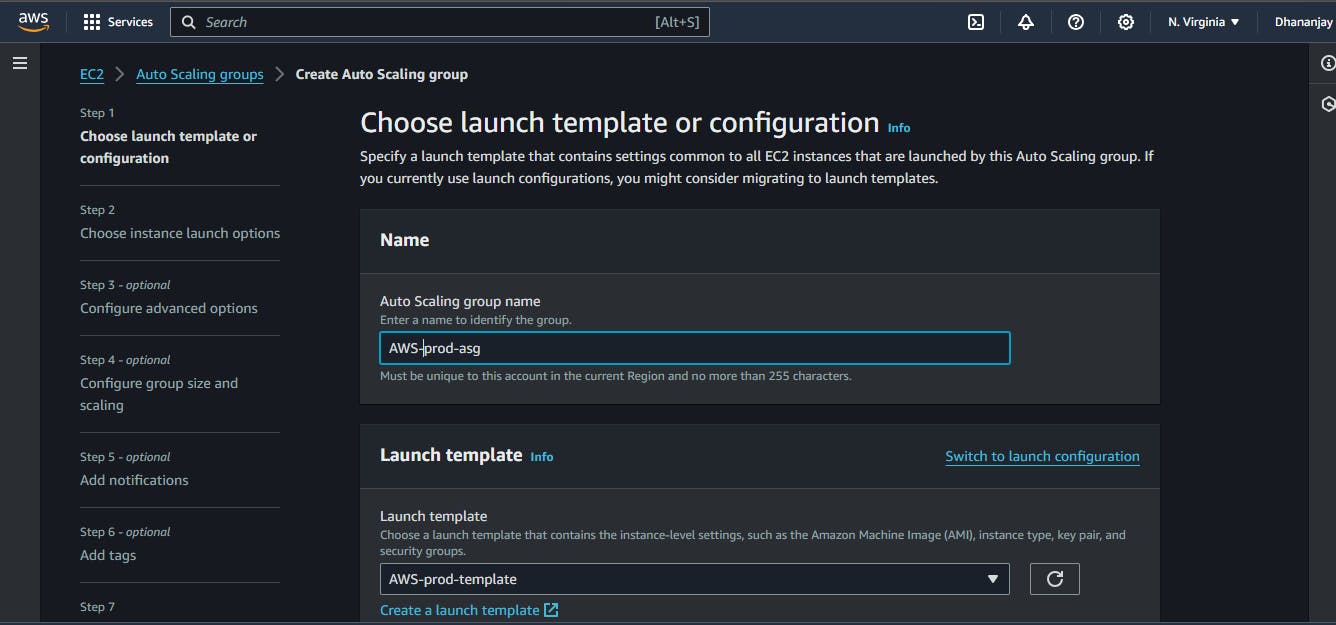
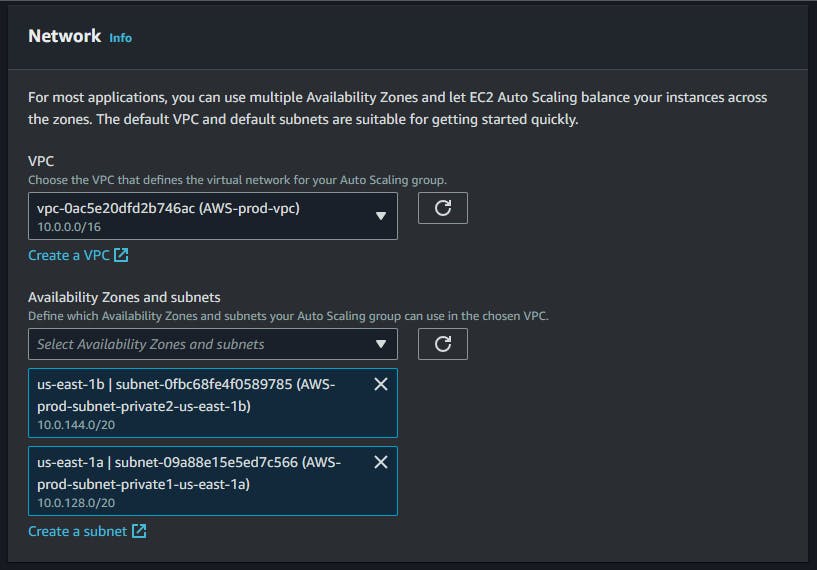
Select the VPC and two private subnets.
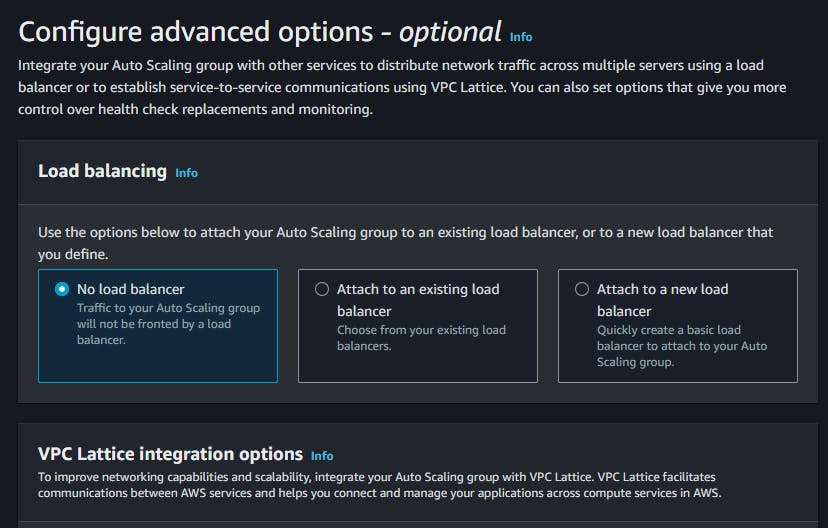
Choose "No load balancer in ASG".
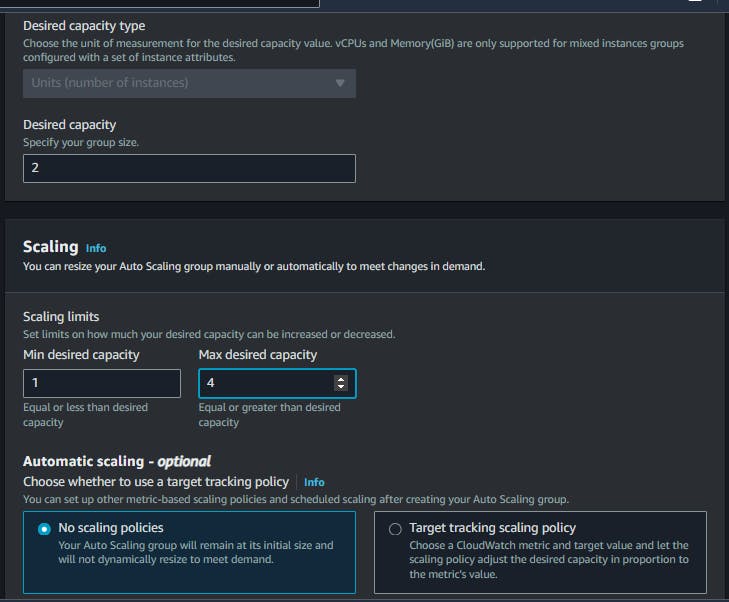
Set desired capacity to 2, minimum to 1, and maximum to 4.
Configure scaling policies and notifications as needed.
Launch the Auto Scaling Group.

Step 3: Deploying a Bastion Host for Secure SSH Access
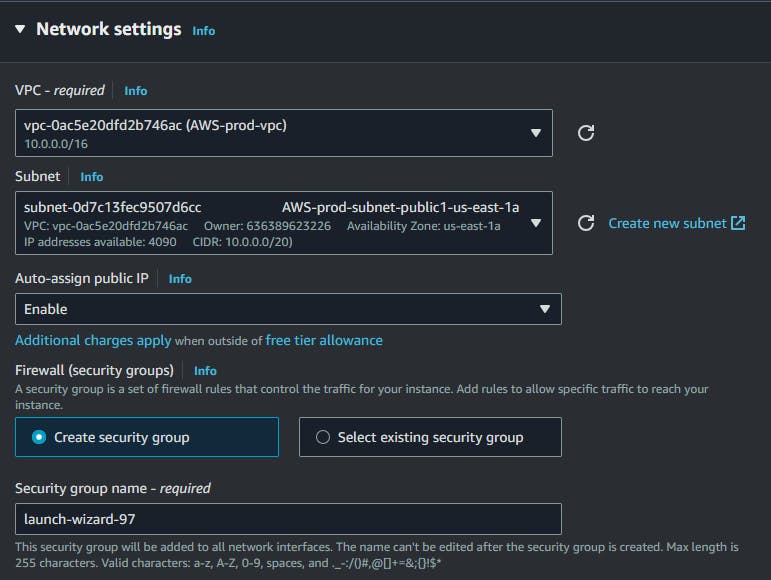
Launch an EC2 instance named "Bastion Host" with the following settings:
AMI: Ubuntu
Instance type: t2.micro
Key pair for SSH access
Security group allowing SSH access (port 22)
Network settings within the same VPC with auto-assign public IP enabled.
SSH into the bastion host and from there,we will SSH into the servers in the private subnets.
Copy the .pem key from your local machine to the remote servers using SCP.

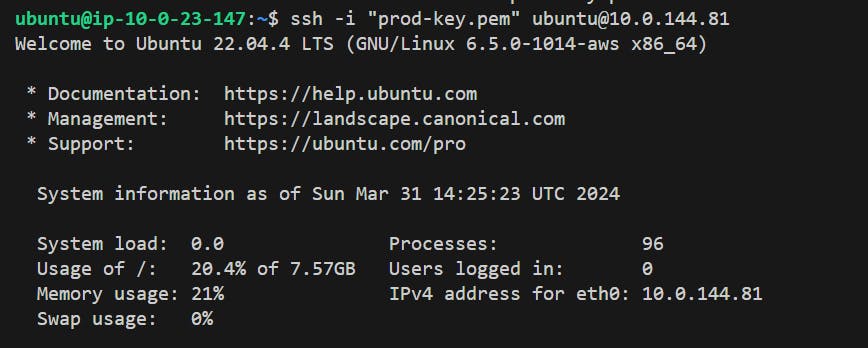
I have succesfully logged in to my server in private subnet with ip ending with 81 (I had few issues with my previous pem key so i reconfigured the instance and created a new key).
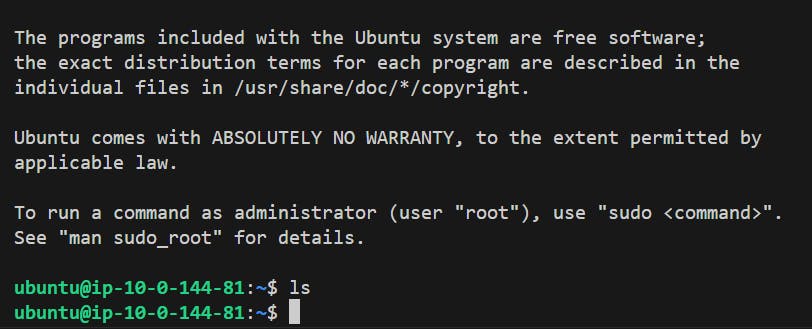
Create an index.html file on each instance and run the command
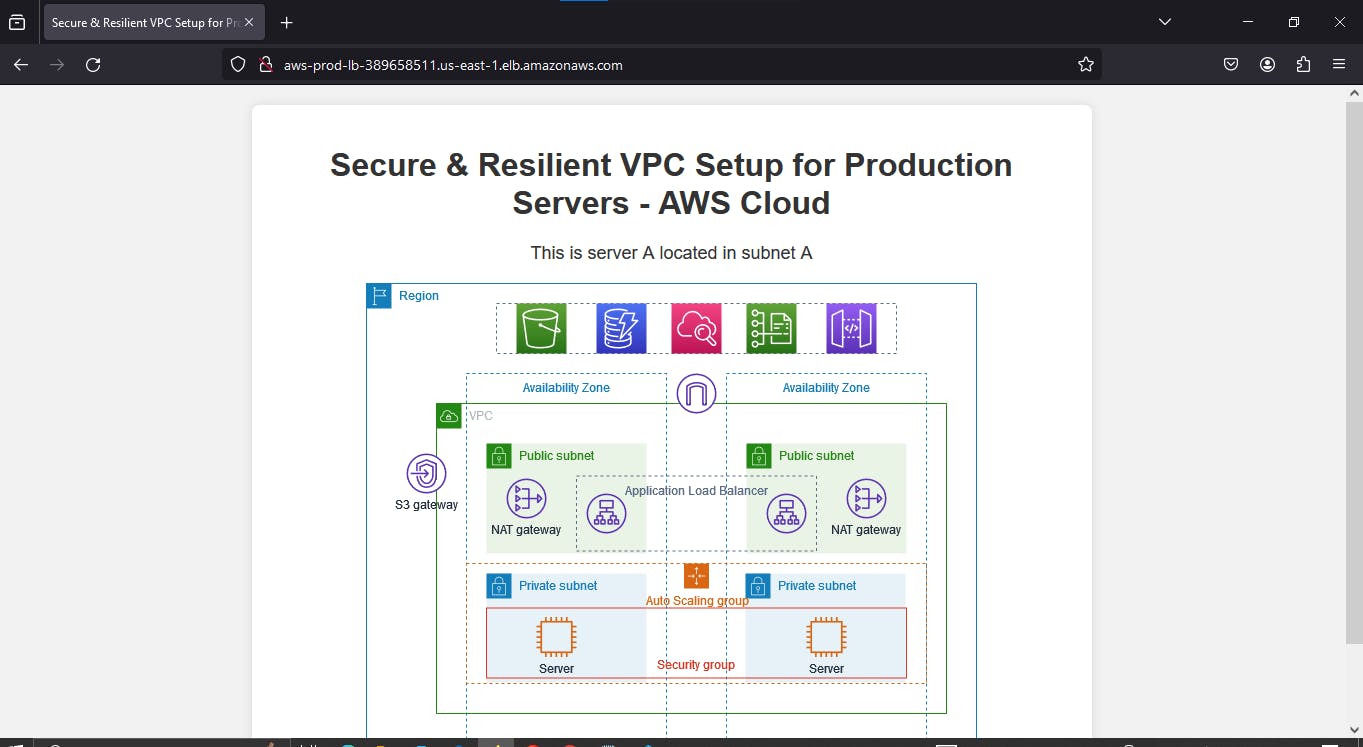
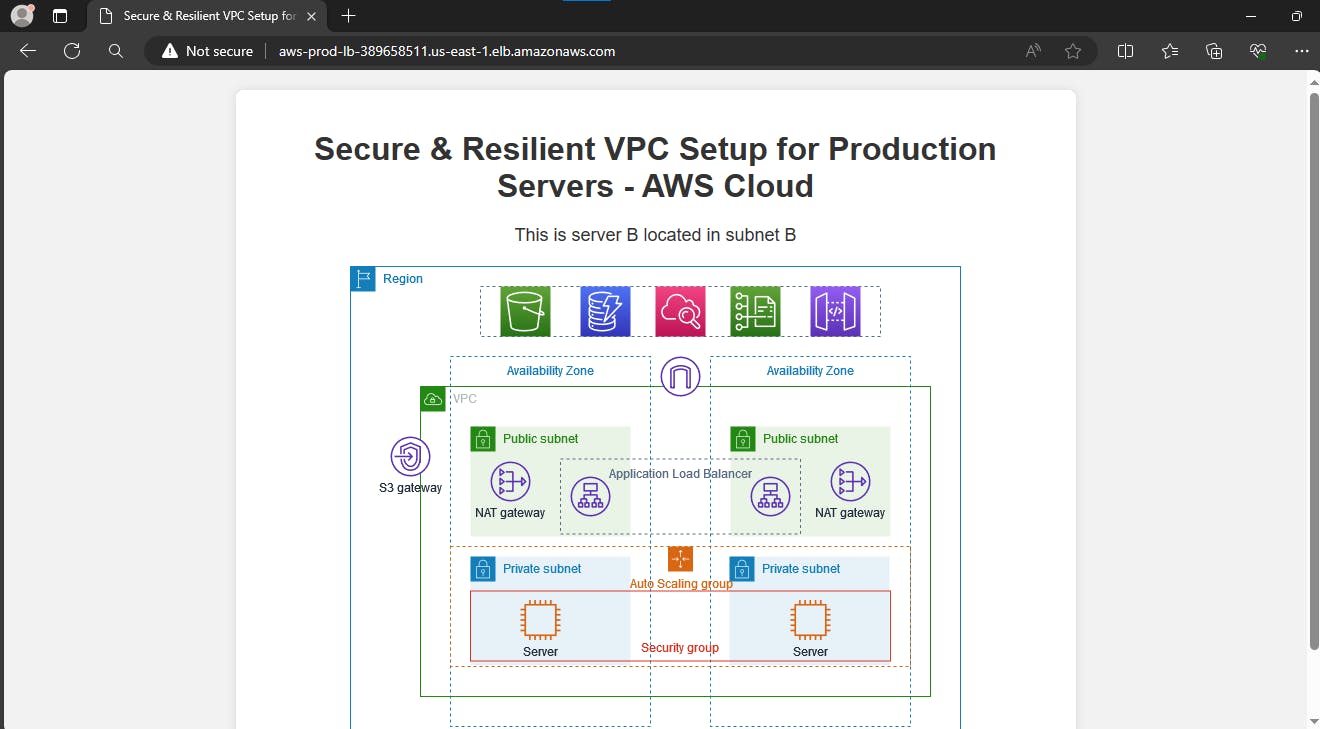
python3 -m http.server 80to set up a basic web server.Server B

Server A

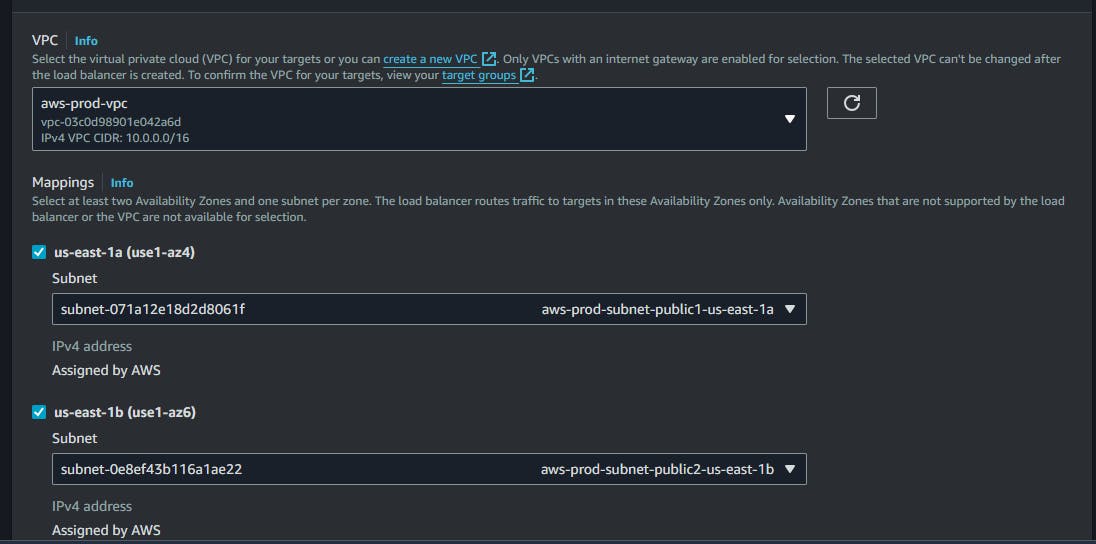
Step 4: Setting up Load Balancer
Navigate to the EC2 Dashboard and click on "Load Balancers" under "Load Balancing".
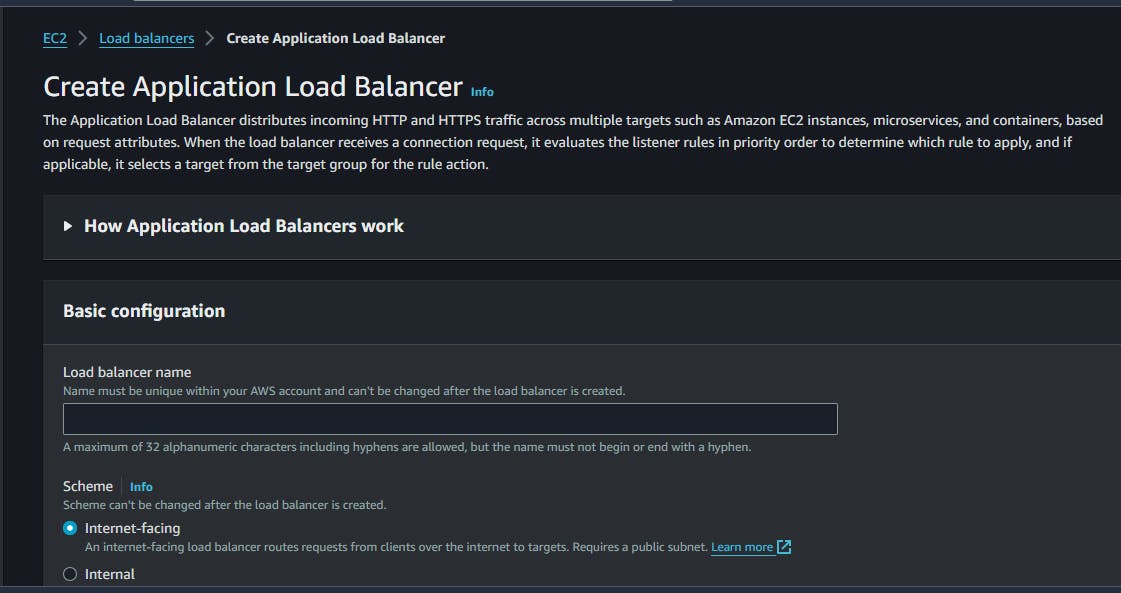
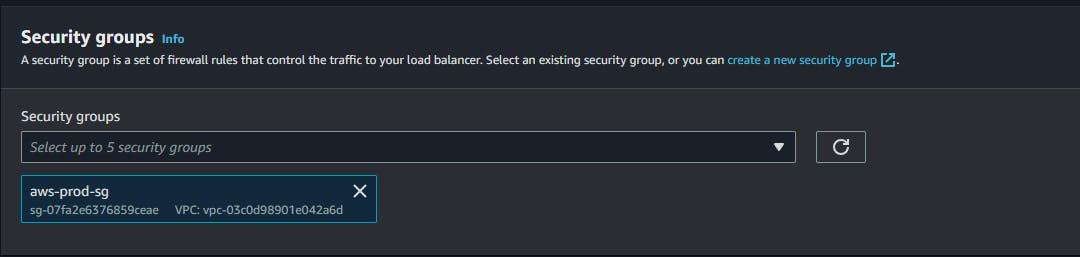
Create an Application Load Balancer with the following configurations:
Name and description.
Internet-facing scheme.
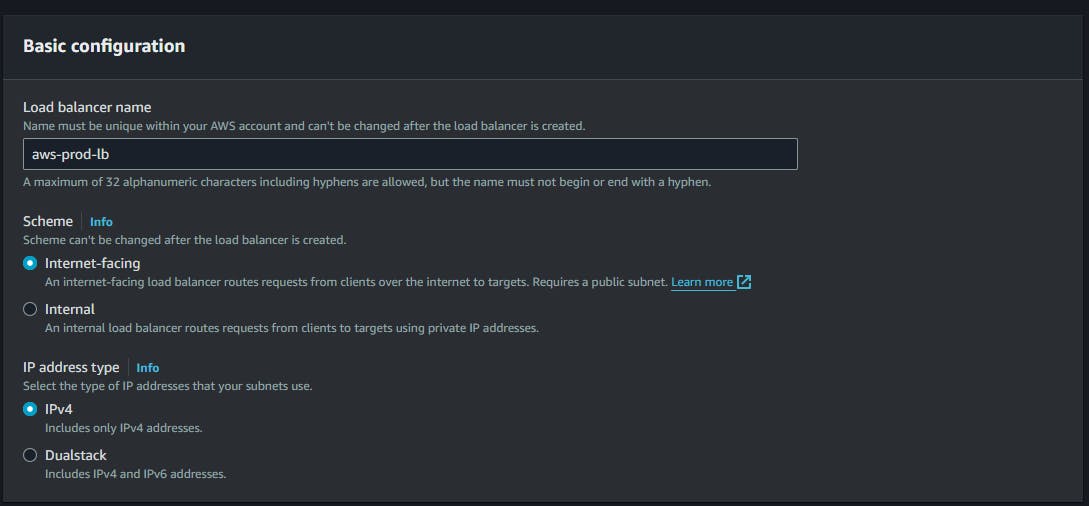
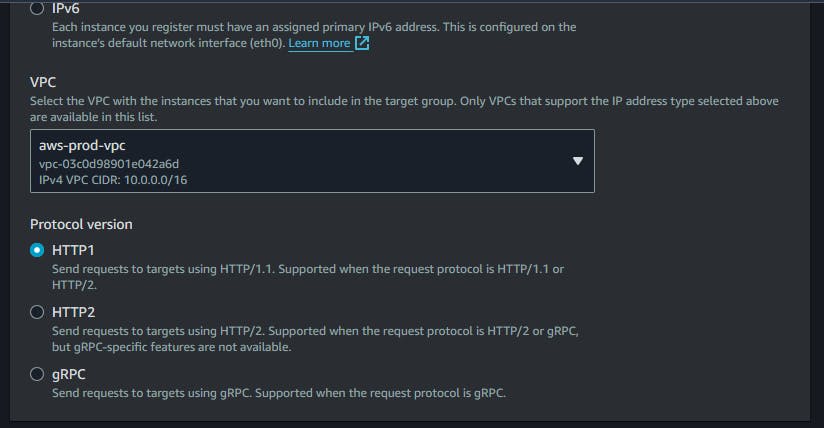
Select the VPC and availability zones.
Choose public subnets.
Select the security group allowing traffic on port 80.
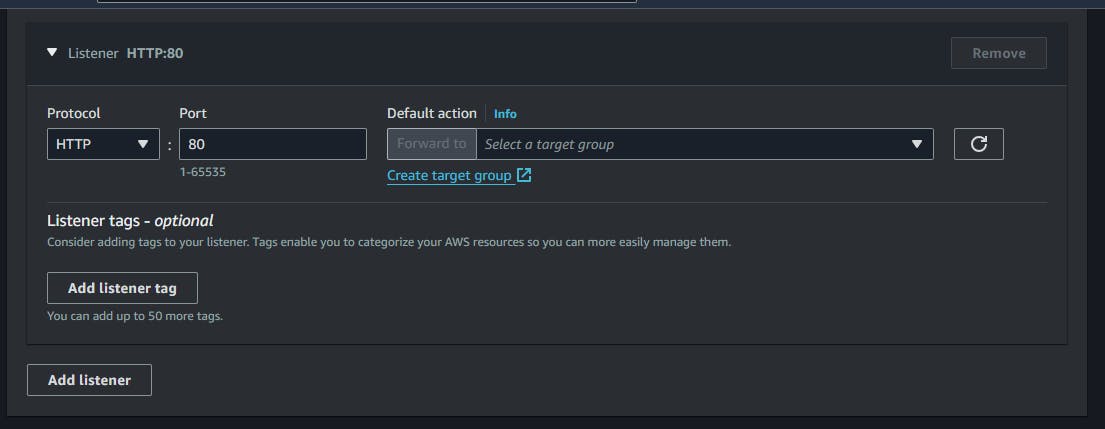
Configure listeners and routing for HTTP (port 80).
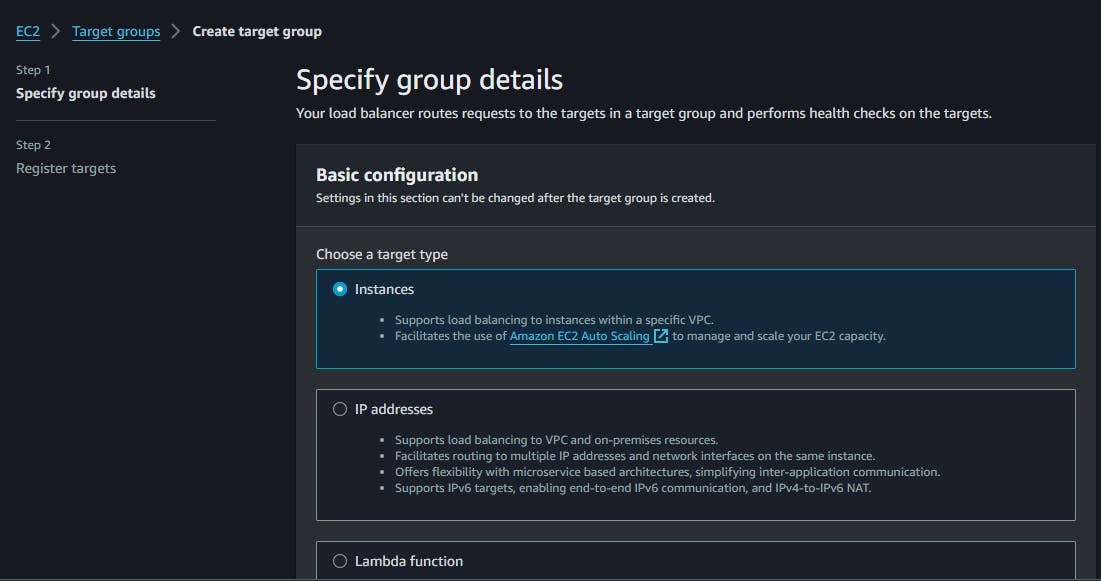
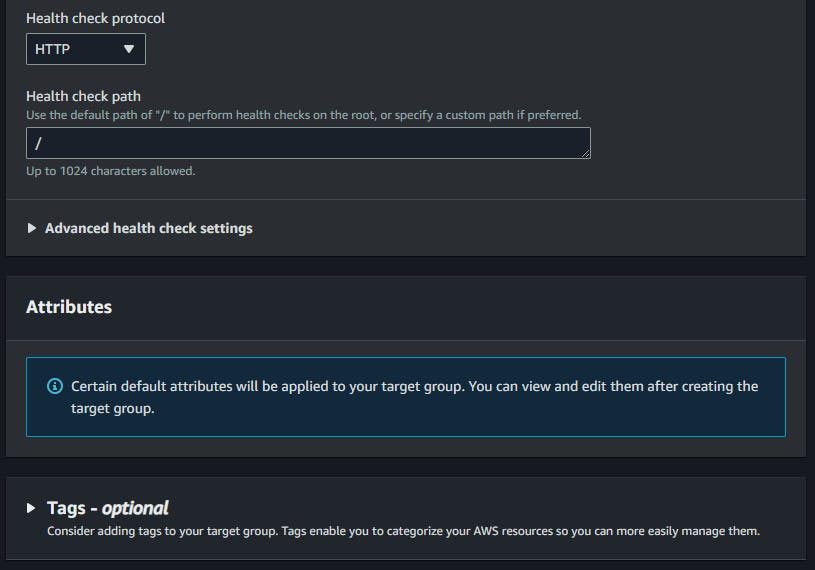
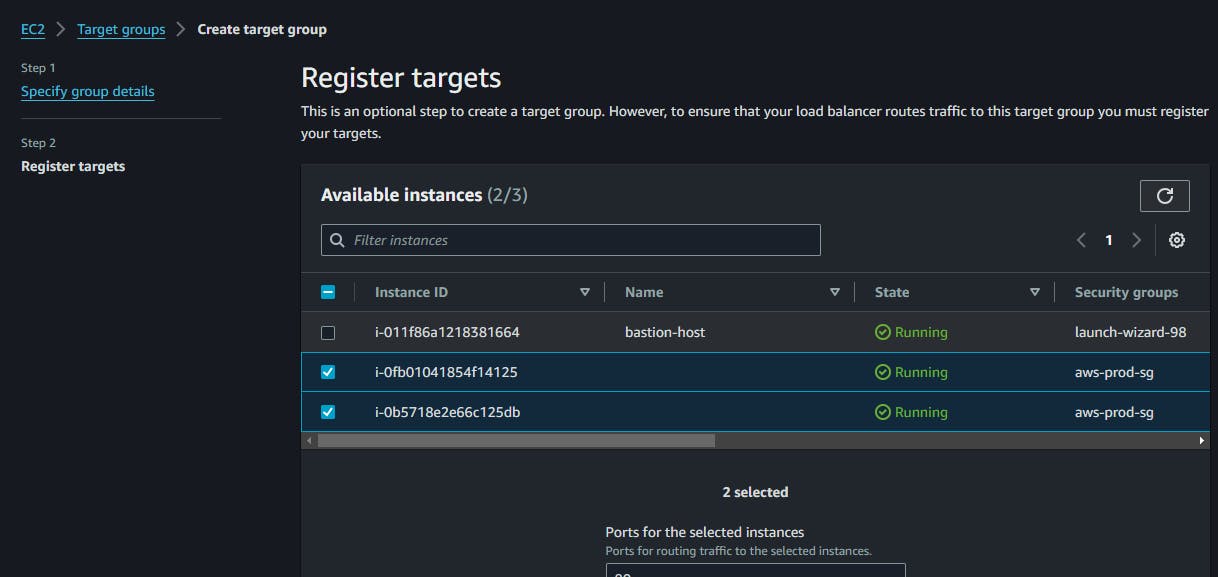
Create a target group specifying instances and port 80.
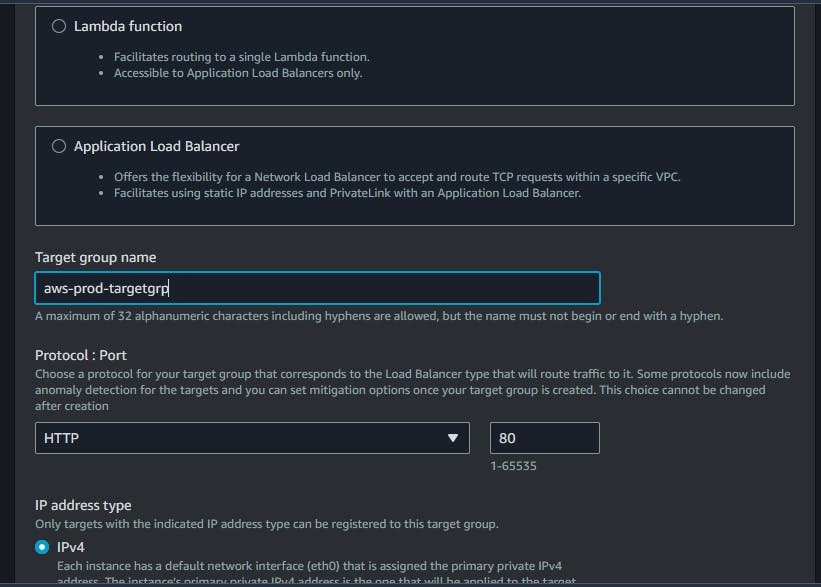


Review and create the load balancer.
Once provisioned, access the application via the load balancer's DNS name.
Load balancer evenly distributes requests, ensuring high availability and scalability.
Conclusion:
Congratulations! You have successfully set up a secure and resilient VPC environment for hosting production servers on the AWS Cloud. Each component, including the VPC, Auto Scaling Group, Bastion Host, and Load Balancer, plays a critical role in ensuring the integrity, availability, and scalability of your application.