📝Provisioning an AWS EC2 Instance using Terraform 🚀
Day 64 : #90DaysOfDevOps Challange

Passionate about building secure, scalable cloud environments. I specialize in AWS & Azure, with hands-on experience in DevOps automation, Python scripting, and infrastructure as code using Terraform.
Currently working in Cloud Security, where I focus on securing cloud-native architectures, implementing security best practices, and automating compliance workflows.
Always open to collaborating on innovative cloud projects that blend automation, security, and performance.
Hello, fellow tech enthusiasts! Welcome back to another exciting day of our coding journey. Today, we have an interesting task at hand: provisioning an AWS EC2 instance using Terraform. So, let's dive right in and explore the wonderful world of infrastructure as code (IaC) with Terraform! 🌍💻
🔑 Prerequisites:
Before we begin, let's ensure we have a few prerequisites in place to smoothly complete our task:
IAM User with Administrative Access: Make sure you have an IAM user with administrative access on your AWS account. This will allow us to perform the necessary actions for provisioning an EC2 instance.
AWS CLI Configuration: To interact with AWS services, we need to configure the AWS Command Line Interface (CLI) on our local machine. Open your integrated terminal in VS Code and run the following command:
aws configure
Enter your AWS Access Key ID, AWS Secret Access Key, default region name, and default output format when prompted.
✨ Let's get started!
Step 1: Create a Terraform Configuration File
Create a new file named main.tf in your project directory. This file will contain the Terraform configuration code.
Step 2: Initialize Terraform
In your integrated terminal, navigate to the project directory and run the following command to initialize Terraform:
terraform init
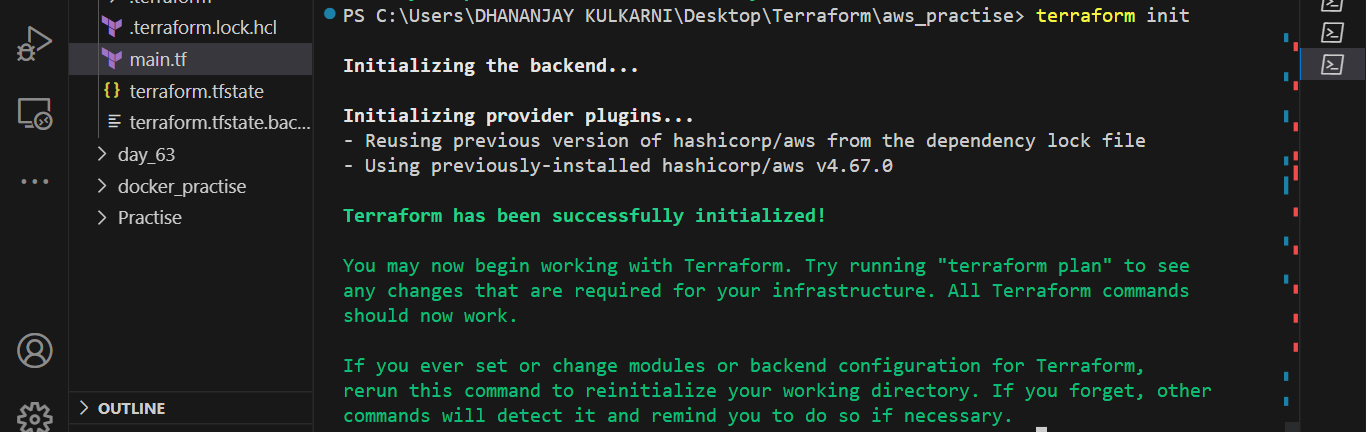
This will download the necessary provider plugins and set up your working directory.
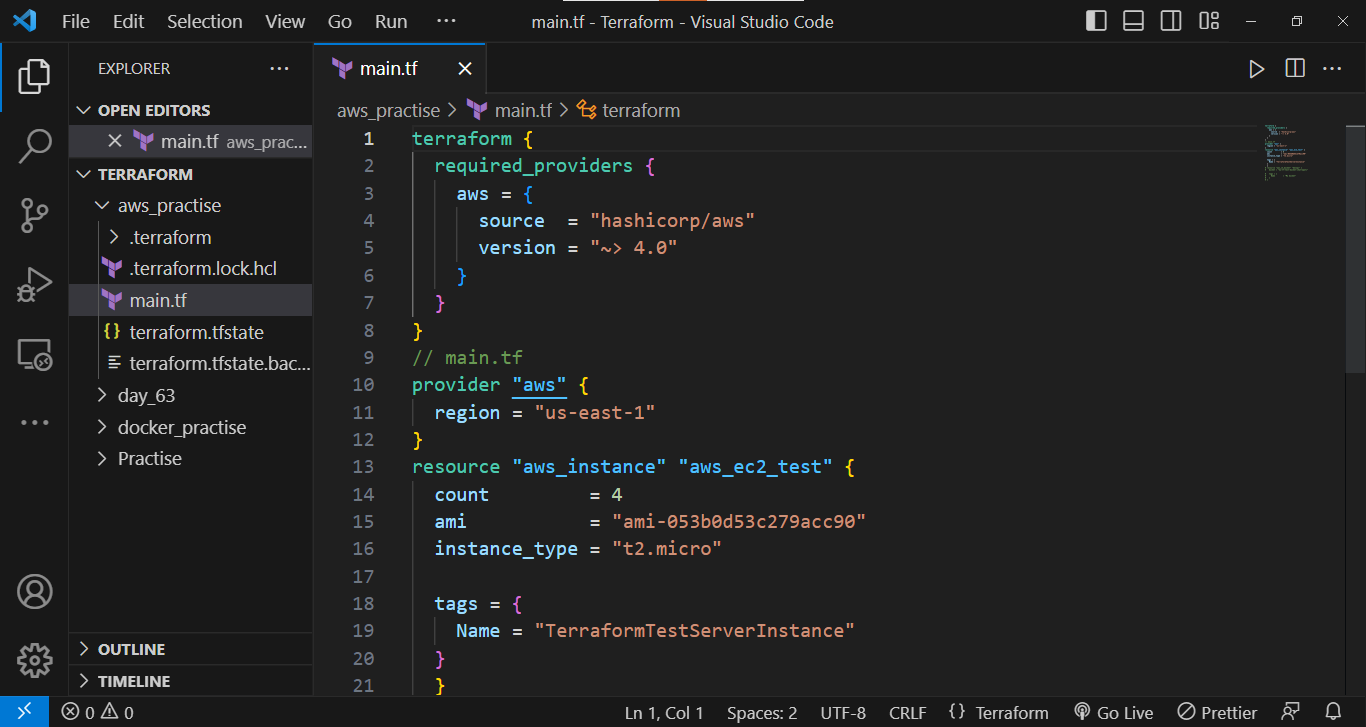
Step 3: Define the EC2 Instance Resource
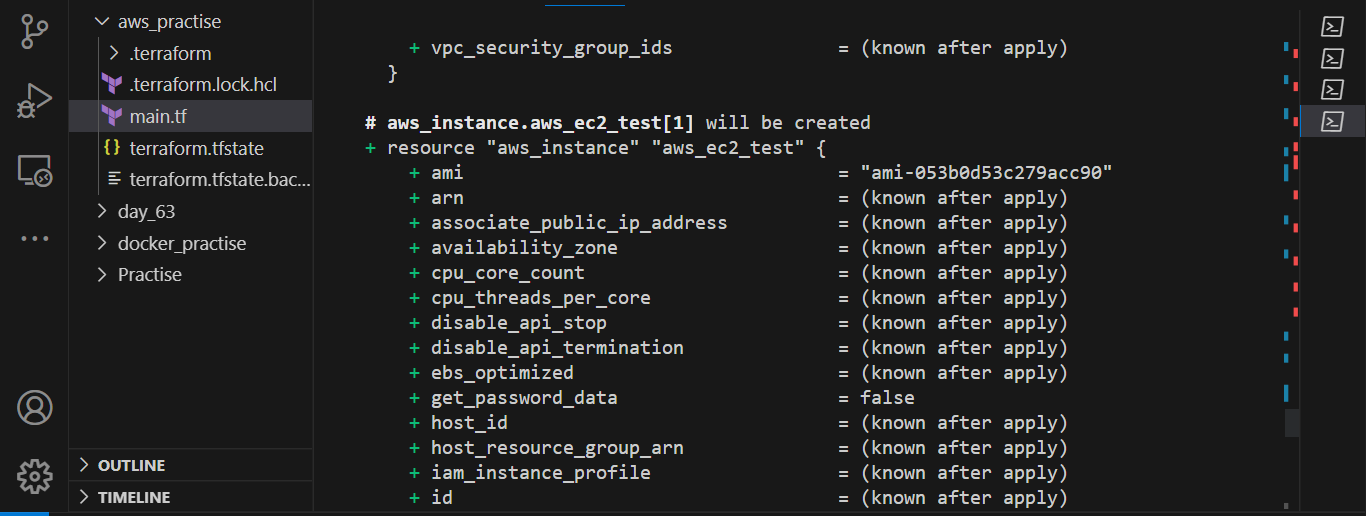
Inside the main.tf file, add the following Terraform code to define the AWS EC2 instance resource:
resource "aws_instance" "aws_ec2_test" {
  count         = 4
  ami           = "ami-053b0d53c279acc90"
  instance_type = "t2.micro"

  tags = {
    Name = "TerraformTestServerInstance"
  }
}
In this code, we are provisioning four EC2 instances of type t2.micro, using the specified Amazon Machine Image (AMI). The instances will be tagged with the name "TerraformTestServerInstance".
Step 4: Provision the EC2 Instances
To provision the EC2 instances, run the following command in your integrated terminal:
terraform apply
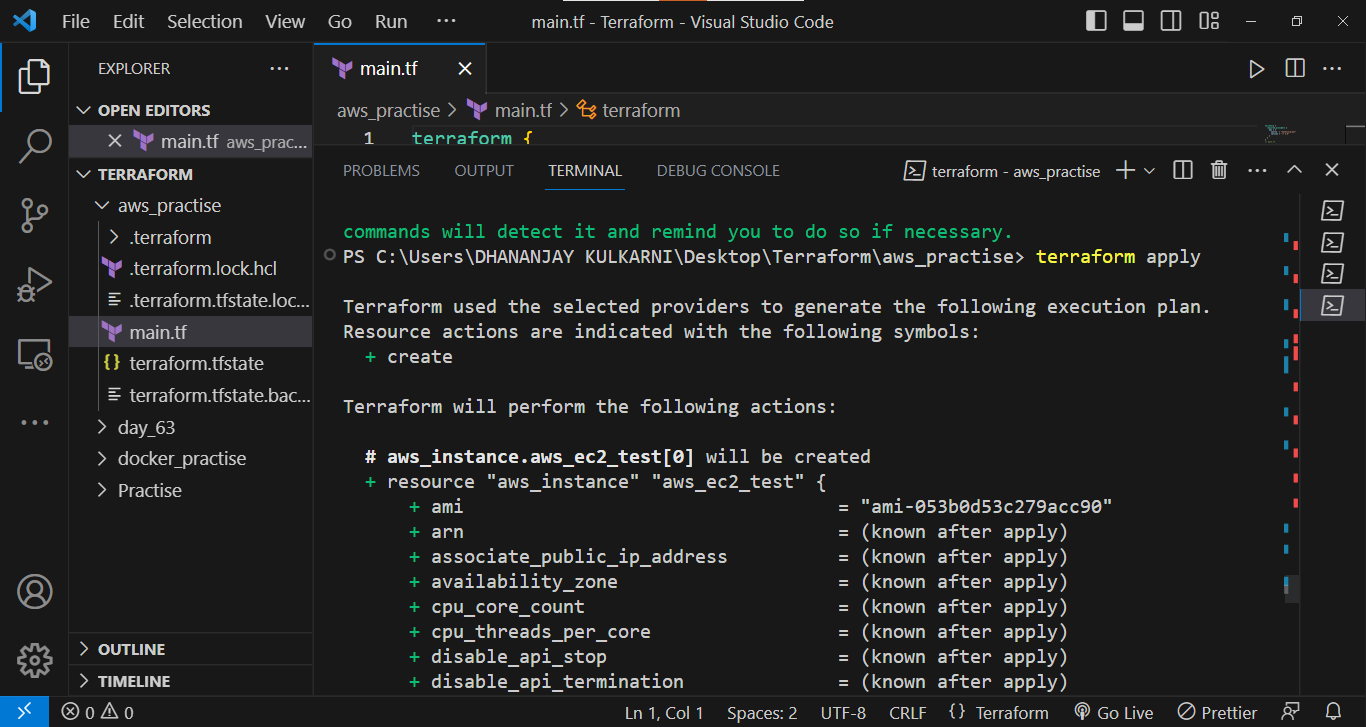
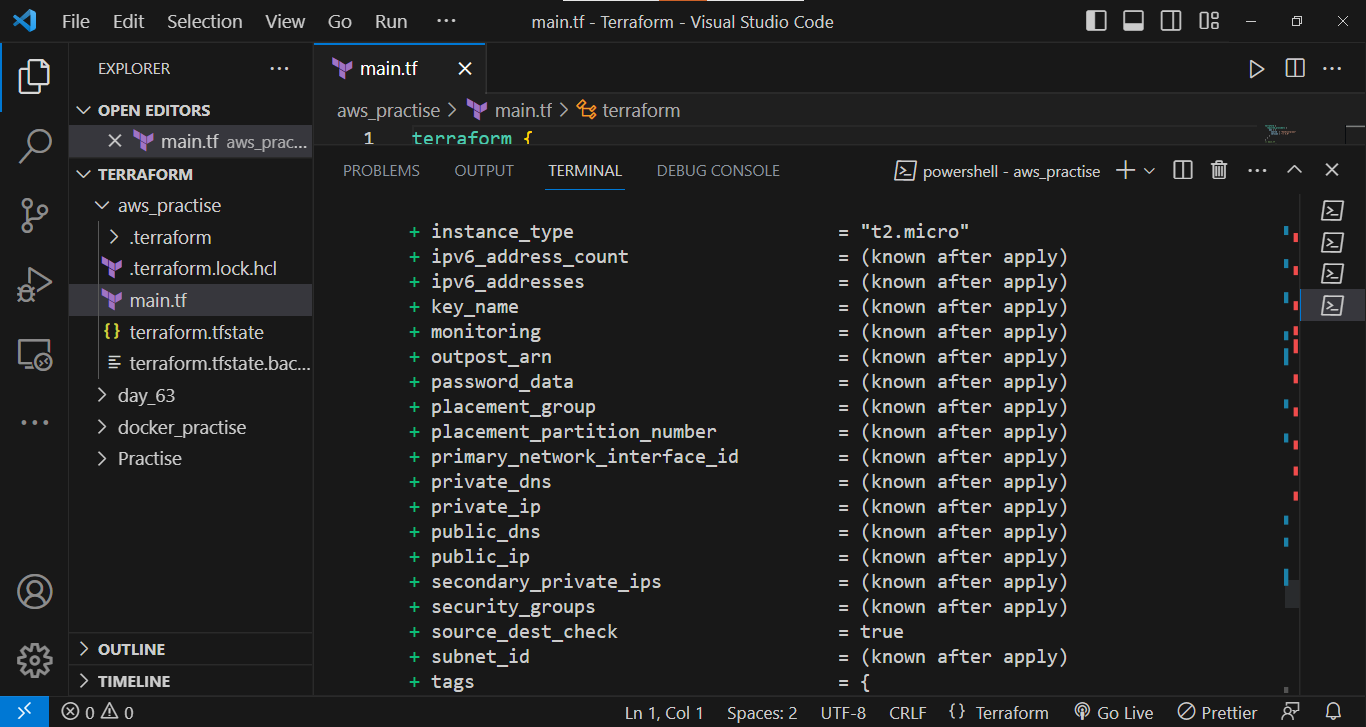
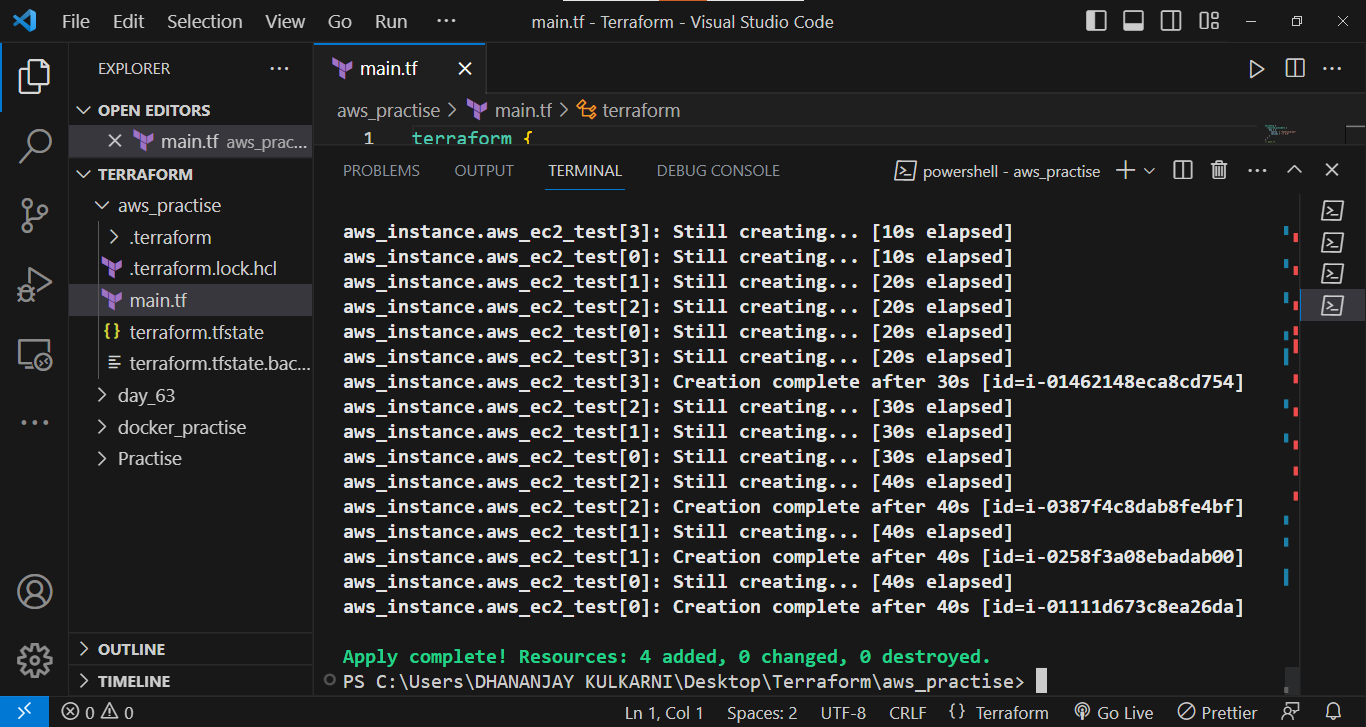
Review the changes to be made, and when prompted, enter "yes" to proceed with the provisioning. Terraform will create the EC2 instances based on the provided configuration.
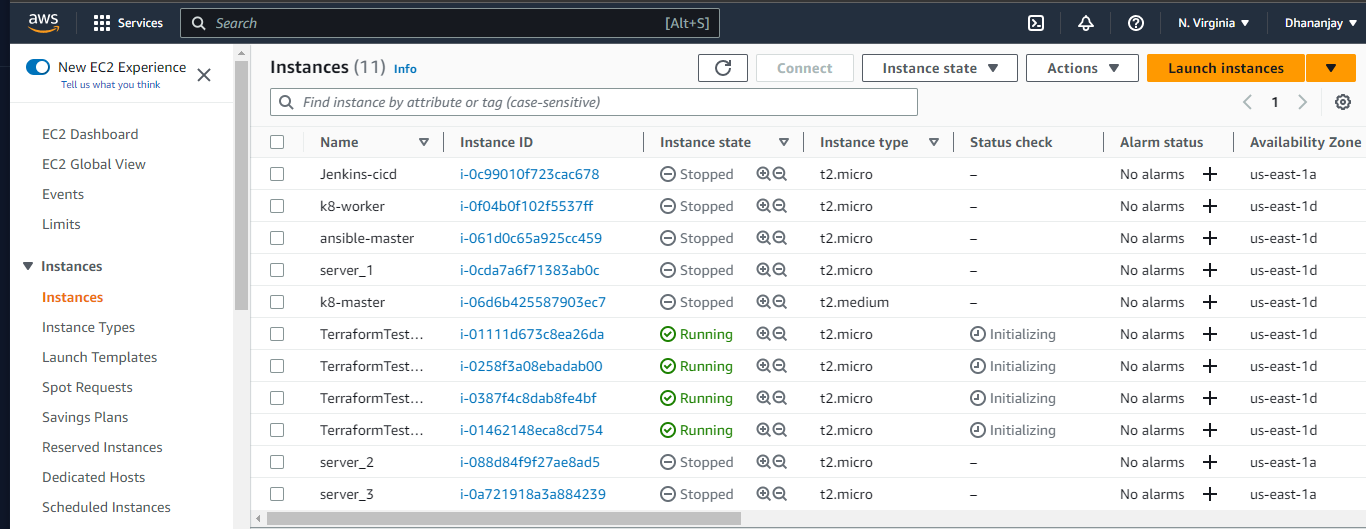
Step 5: Verify the EC2 Instances
After the provisioning is complete, navigate to your AWS Management Console. Open the EC2 service and verify that the instances have been successfully created. You should see four instances with the specified tags.
Congratulations! You have successfully provisioned AWS EC2 instances using Terraform. 🎉🎉
🔒 Clean Up:
To avoid unnecessary costs, it's important to clean up the resources we provisioned. In your integrated terminal, run the following command:
terraform destroy
Review the resources to be destroyed, and when prompted, enter "yes" to proceed.
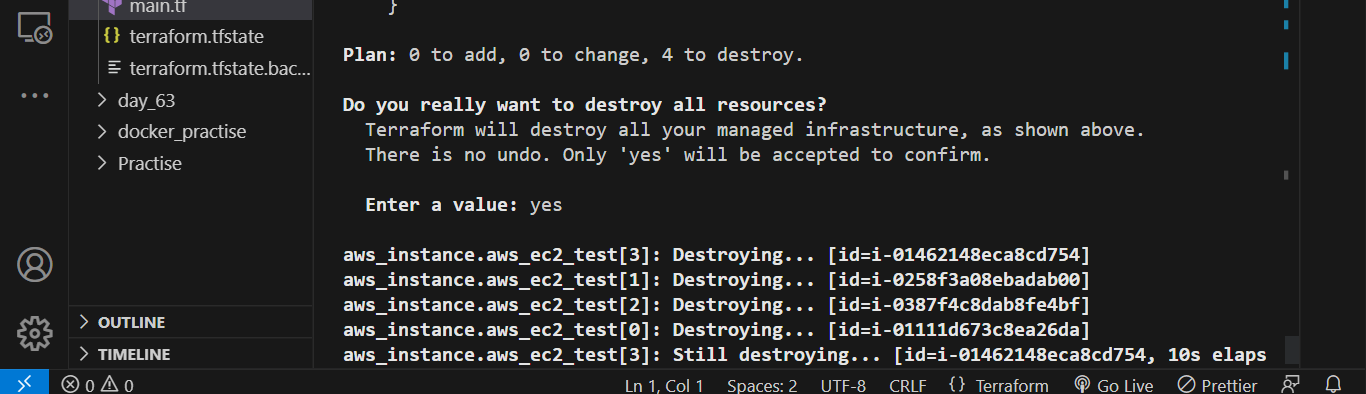
Terraform will destroy the EC2 instances, ensuring a clean environment.
📝 Wrapping Up:
In today's task, we explored the power of Terraform to provision infrastructure as code. We learned how to define an AWS EC2 instance resource using Terraform and successfully provisioned multiple instances. By adopting infrastructure as code practices, we can automate and version our infrastructure, making it easier to manage and collaborate.
Now that you have accomplished
this task, pat yourself on the back for a job well done! Stay tuned for more exciting adventures in our coding journey. Until then, happy coding! 😄👩💻👨💻


