Project-3: React App on AWS S3 with Static Hosting | Practical AWS Projects
Day 82: #90DaysOfDevOps Challange

Passionate about building secure, scalable cloud environments. I specialize in AWS & Azure, with hands-on experience in DevOps automation, Python scripting, and infrastructure as code using Terraform.
Currently working in Cloud Security, where I focus on securing cloud-native architectures, implementing security best practices, and automating compliance workflows.
Always open to collaborating on innovative cloud projects that blend automation, security, and performance.
Welcome to Day 82 of 90DaysOfDevOps Challange, where we explore hands-on projects using Amazon Web Services (AWS) and Devops tools. In this project, we will learn how to host a React app on AWS S3 with static hosting. 🚀
Introduction to AWS S3
Amazon S3 (Simple Storage Service) is a highly scalable object storage service provided by AWS. It allows you to store and retrieve any amount of data using a simple web services interface. We will leverage the power of AWS S3 to host our React app as a static website. Let's get started! 💪
Prerequisites
Before we begin, make sure you have the following:
✅ Node.js and npm installed on your local computer
✅ AWS account with access to the AWS Management Console
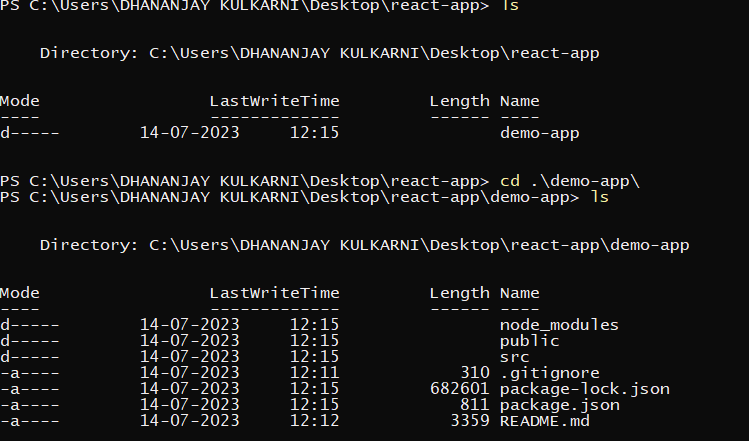
Step 1: Setting up the React App
📂 Create a directory called
react-appon your local computer.💻 Open a terminal (PowerShell) and navigate to the
react-appdirectory.Install
npm(Node Package Manager) if you haven't already installed it on your system.
Step 2: Creating the React App
- Run the following command to create a new React app:
npx create-react-app demo-app
- 📂 Move into the newly created app directory:
cd demo-app
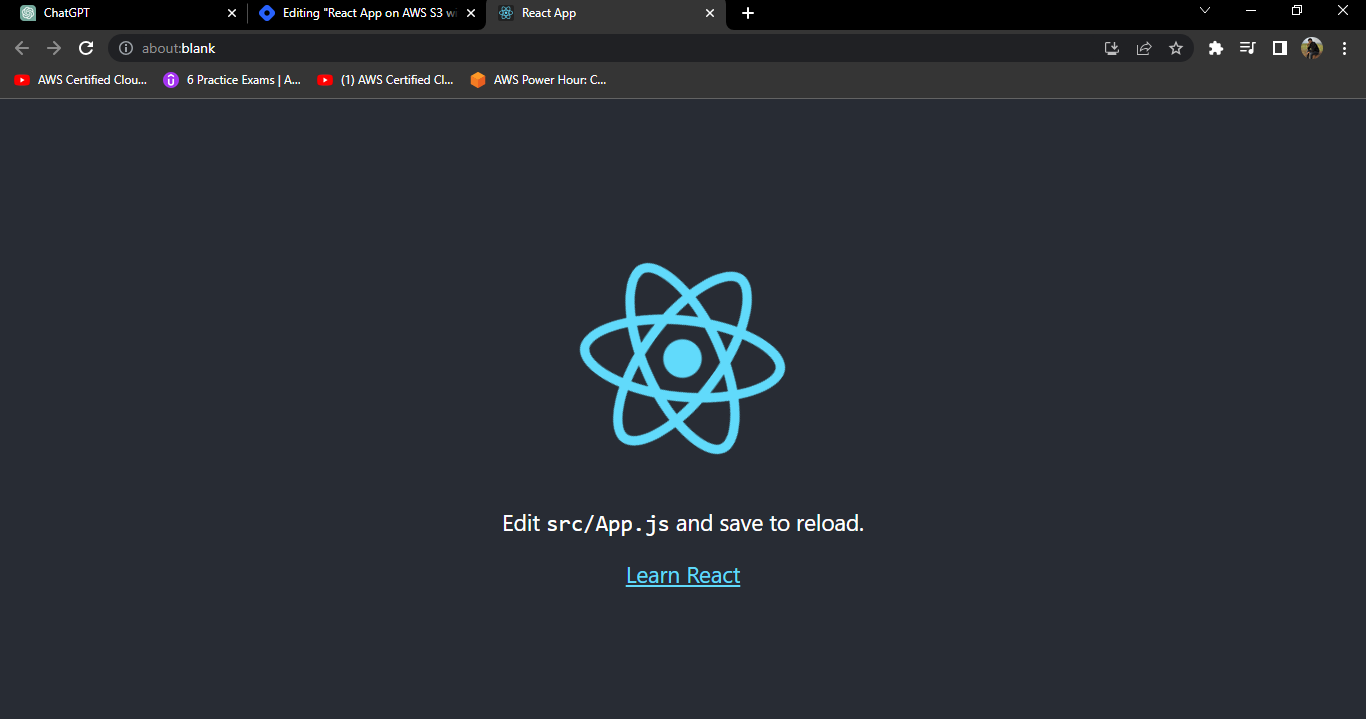
- Start the development server for your React app:
npm start
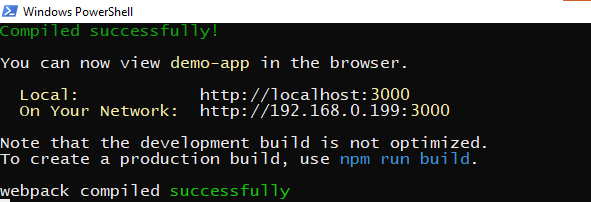
- 🌐 Your application will be running on
localhost:3000in your web browser.
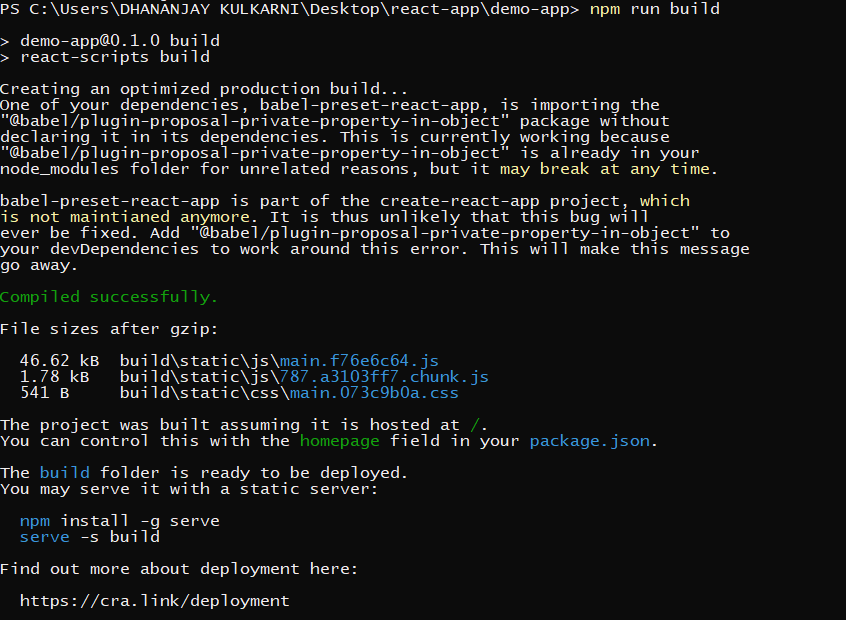
Step 3: Building the Production Version
- To create a production build of your React app, use the following command:
npm run build
Step 4: Setting up AWS S3 Bucket
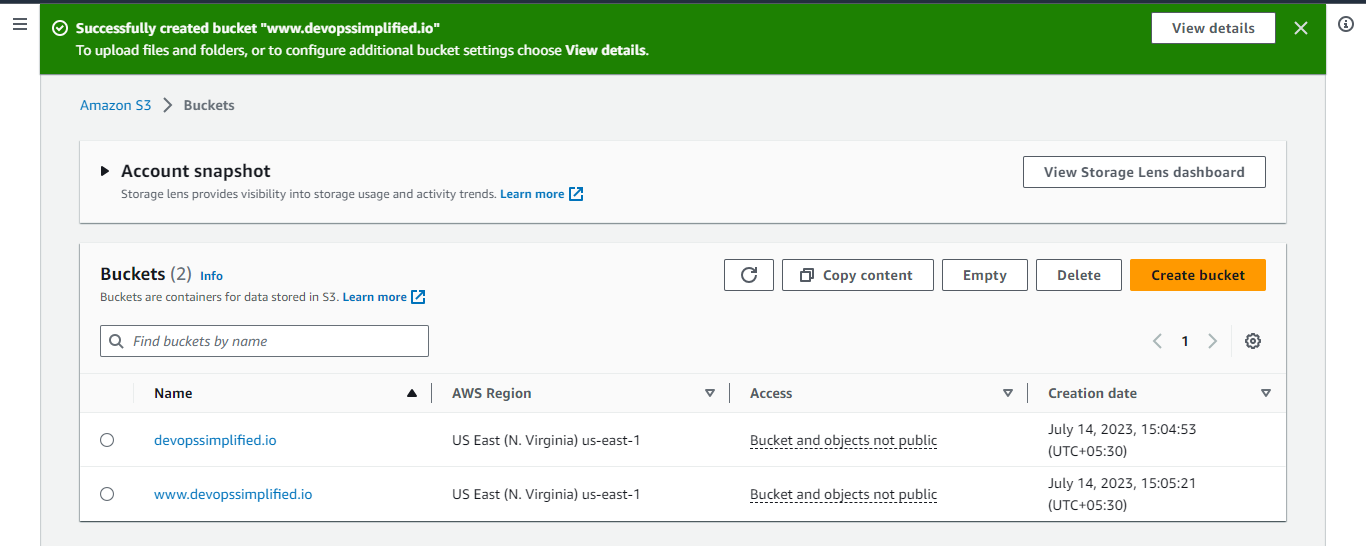
🌐 Go to the AWS Management Console and navigate to the S3 service.
Let's create two buckets: one with the name "www.devopssimplified.io" and the other with "devopssimplified.io". The reason for two buckets will be explained later.
Leave all the default settings while creating the buckets. We will make changes to them later.
Step 5: Uploading the Website Files
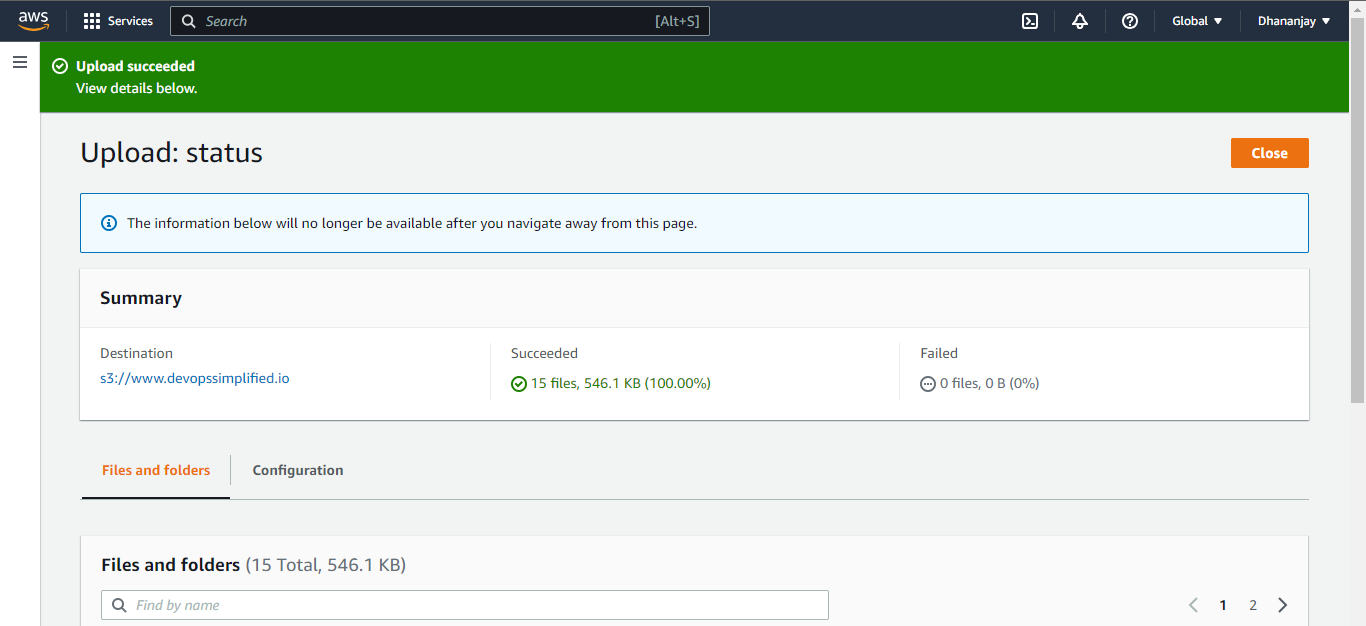
📤 Go to the "www.devopssimplified.io" bucket.
Upload the files by clicking on the "Add files" button. Navigate to the
builddirectory of your React app.Select all the files in the directory and upload them. Also, upload the
staticfolder located within thebuilddirectory.
Step 6: Configuring Bucket Permissions
👥 Click on the "Permissions" tab of the "www.devopssimplified.io" bucket.
Disable the "Block public access" setting, which is enabled by default. Click on "Edit" and disable it.
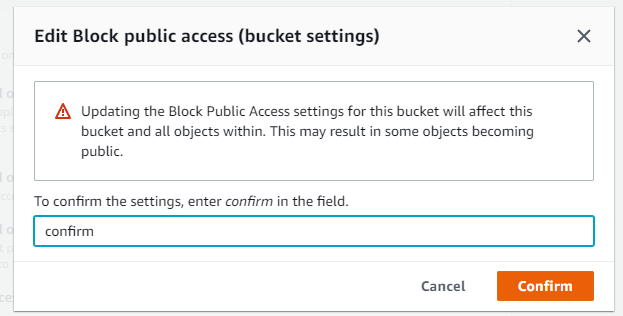
Save the changes and go to the "Bucket Policy" tab.
Edit the bucket policy to allow public access to the website files. Replace the existing policy with the following:
    {
    "Version": "2012-10-17",
    "Statement": [
        {
            "Sid": "PublicReadGetObject",
            "Effect": "Allow",
            "Principal": "*",
            "Action": [
                "s3:GetObject"
            ],
            "Resource": [
                "arn:aws:s3:::www.devopssimplified.io/*"
            ]
        }
    ]
}
- Save the changes.
Step 7: Verifying the Website
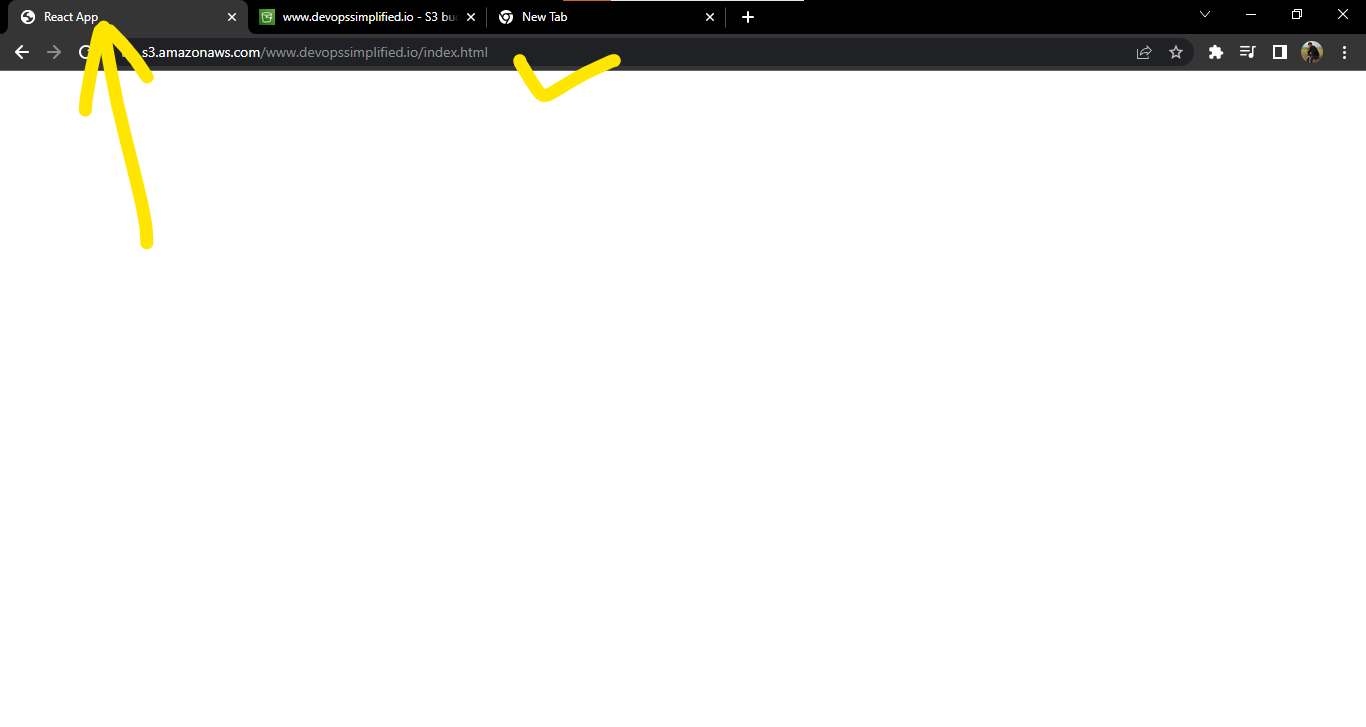
🌐 Go to the "Objects" tab of the "www.devopssimplified.io" bucket.
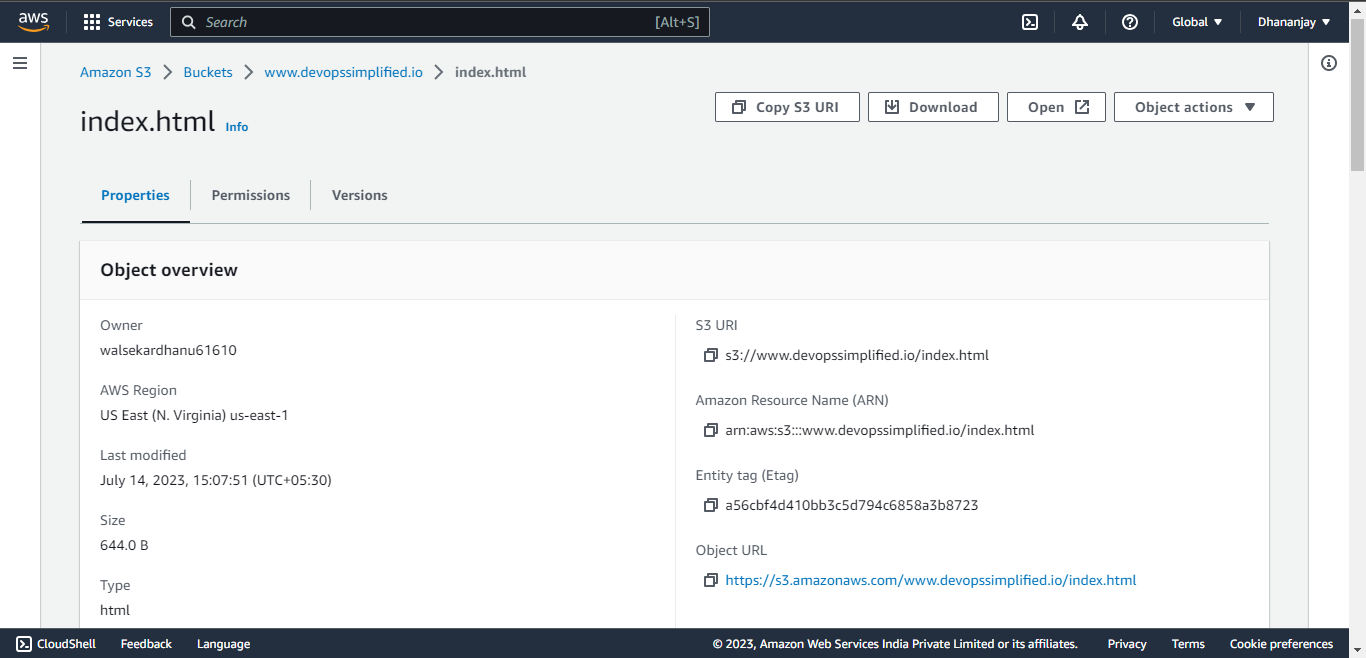
Locate the
index.htmlfile and click on the object URL. Open it in a new tab.The index.html page will load, but the CSS and other files might be missing. You won't see the React logo at this point.
Step 8: Enabling Static Website Hosting
🛠️ Go to the "Properties" tab of the "www.devopssimplified.io" bucket.
Scroll down to "Static website hosting" and click on "Edit."
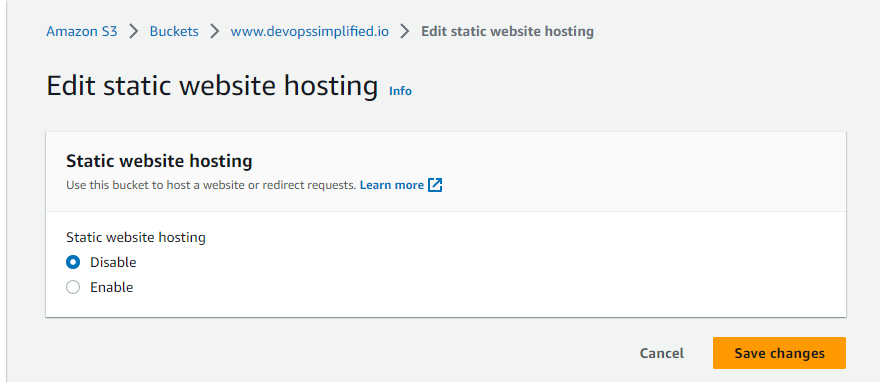
Enable static website hosting and set the "Index document" field to
index.html.Save the changes.
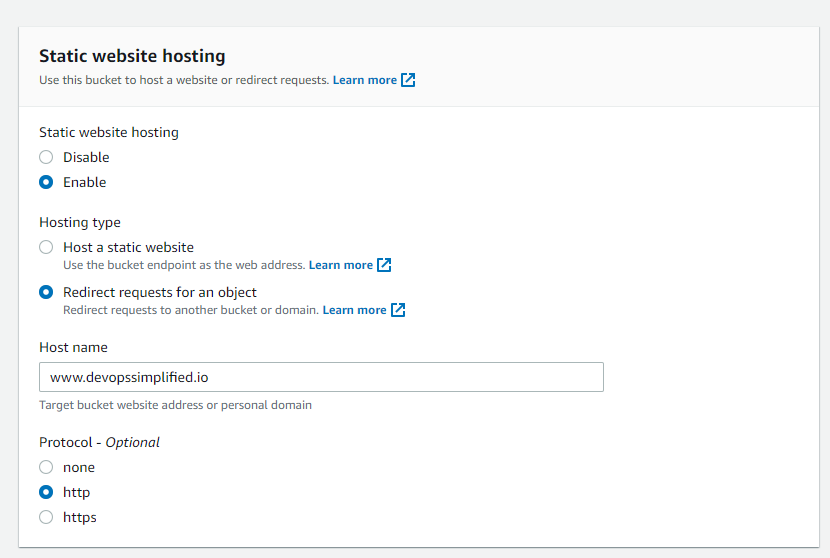
For our other bucket do the below settings
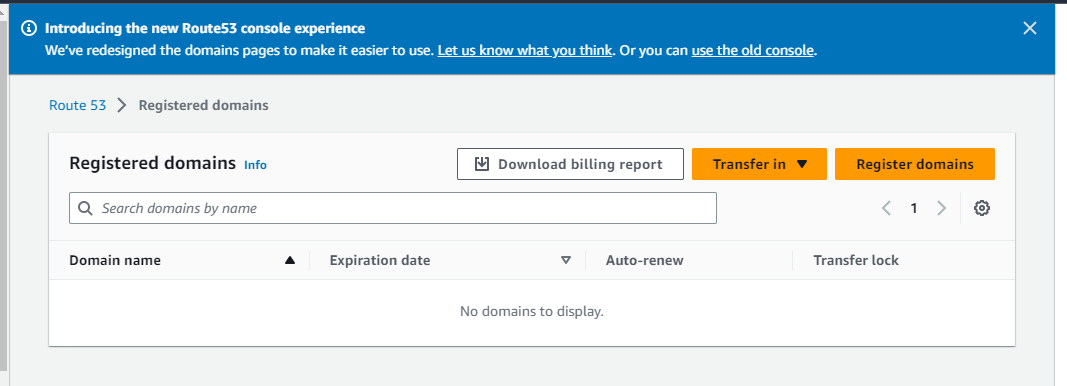
Step 9: Setting up DNS with Route 53
🌐 Register a domain name for your website using AWS Route 53. Let's use "devopssimplified.io" as an example.
Click on "Registered domains" in the AWS Management Console and choose "Register domain."
Select your desired domain name (e.g., "devopssimplified.net"), add it to the cart, and proceed to checkout.
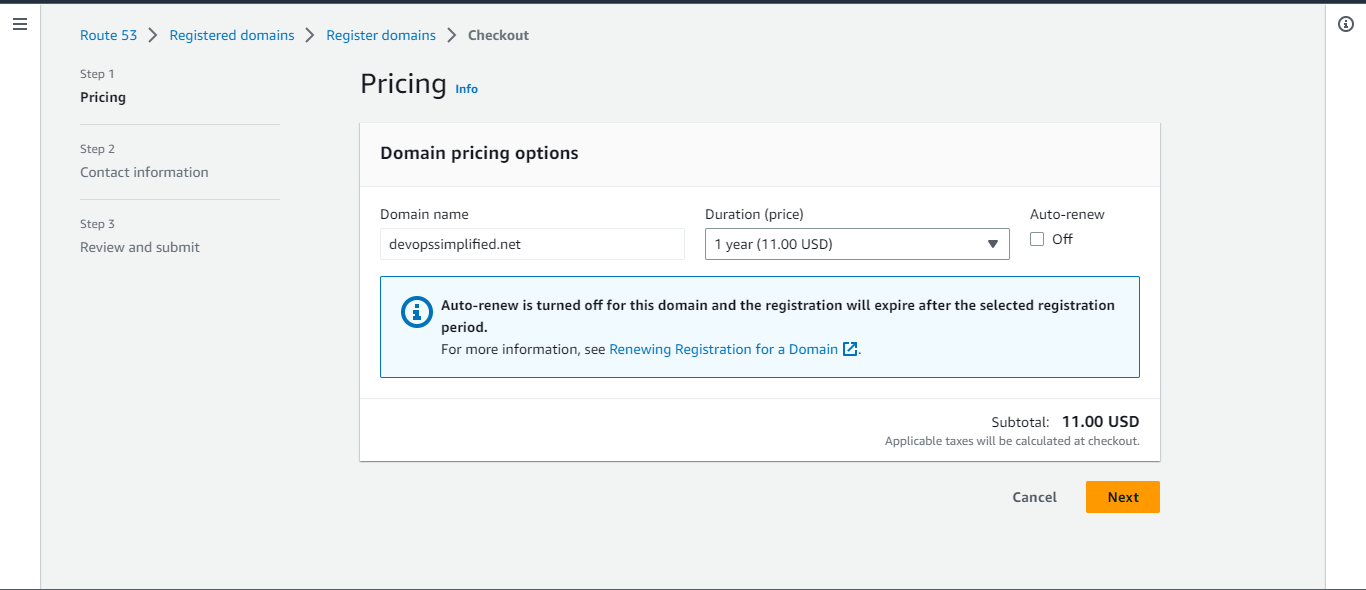
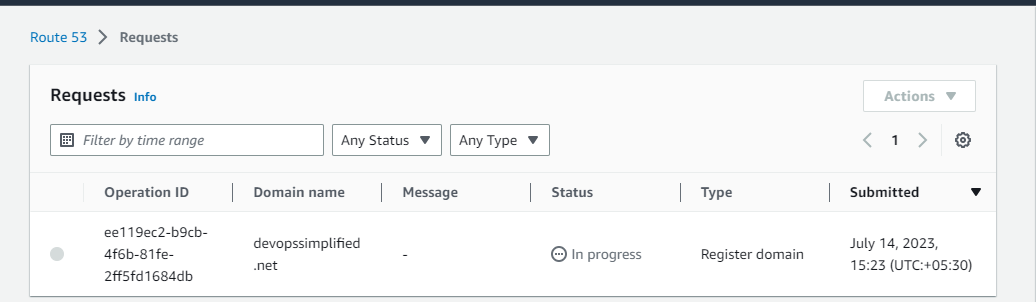
Provide the necessary contact information and complete the registration process.
Ohh! It's Expensive😑
If you have already purchased a domain you can follow the bellow steps
Step 10: Configuring DNS Records
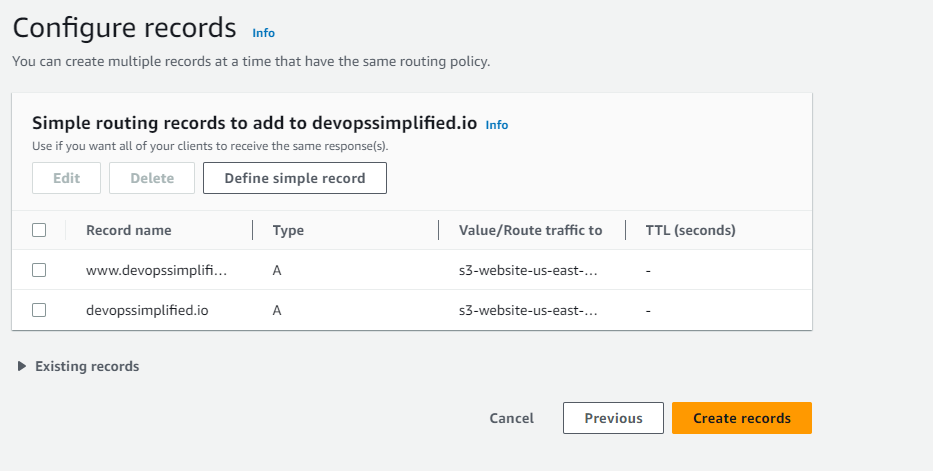
🌐Go to the "Hosted zones" section in Route 53.
Click on the "devopssimplified.io" hosted zone and create two records: one for "www.devopssimplified.io" and another for the non-www version.
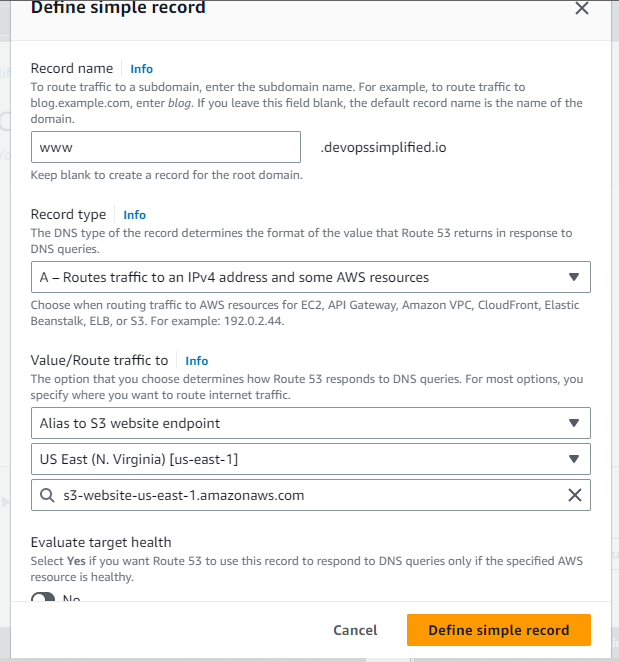
Select "Simple routing" for both records and define the record names accordingly.
Choose the endpoint alias as the S3 website endpoint and select the appropriate region (e.g., us-east-1).
Choose the corresponding S3 bucket for each record.
Disable target health and click on "Define simple record" to save the changes.
Step 11: Final Steps
🌐 Wait for the DNS changes to propagate, which may take some time (typically a few minutes to hours).
Once the changes have propagated, your React app will be available at the URL you registered (e.g., https://www.devopssimplified.io).
I didn't B'coz It will take time for me to register my own DNS
Congratulations! 🎉 You have successfully hosted your React app on AWS S3 with static hosting. Now you can share your website with the world. Feel free to explore other AWS services to enhance your app and make it even more powerful.
Stay tuned for more Practical AWS Projects where we explore different AWS use cases and build exciting applications! 👨💻🌐


