Getting Started with AWS CodeCommit: A Comprehensive Guide🚀 ☁
Day 50 : #90DaysOfDevOps Challange
In today's rapidly evolving software development landscape, efficient source code management is crucial for successful project collaboration and version control. AWS CodeCommit, a managed source control service provided by Amazon Web Services (AWS), offers developers a secure and scalable solution to store, manage, and version their source code and artifacts. This blog post will introduce you to CodeCommit and guide you through the process of setting up a code repository, cloning it on your local machine, and performing essential tasks such as adding a new file, committing changes, and pushing them to your CodeCommit repository.
Task-01: Setting up a Code Repository on CodeCommit
AWS CodeCommit provides a seamless interface for creating and managing code repositories. Let's get started by following these steps:
Sign in to the AWS Management Console and navigate to the CodeCommit service.

Click on the "Create repository" button and provide a unique name for your repository.
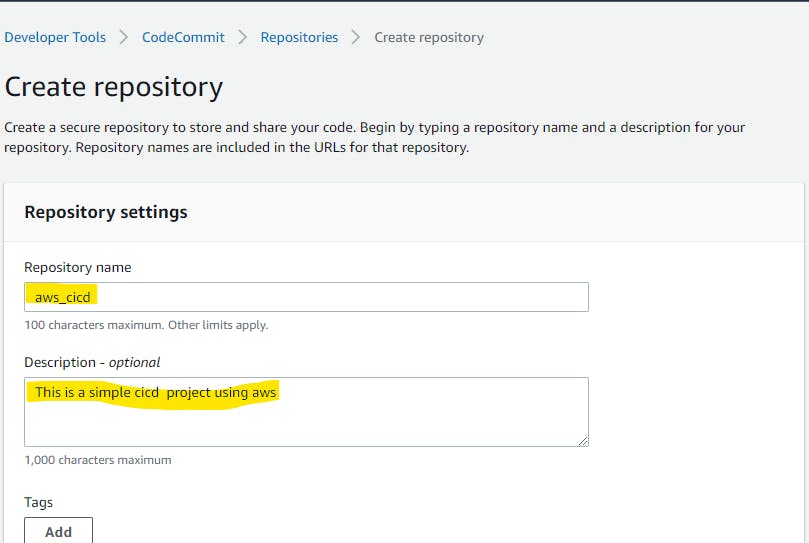
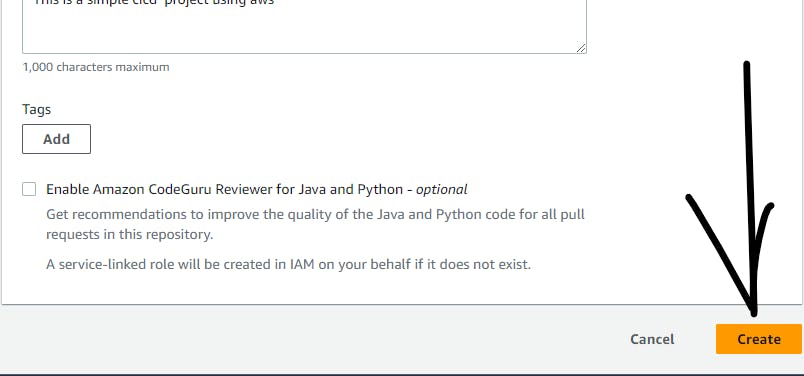
Optionally, you can add a repository description and configure repository settings such as permissions, notifications, and triggers.
After creating the repository, note down the repository URL, as we will be using it in the next steps.
Now, let's set up GitCredentials in your AWS IAM and configure them on your local machine:
Open the AWS IAM console and navigate to the "Users" section.
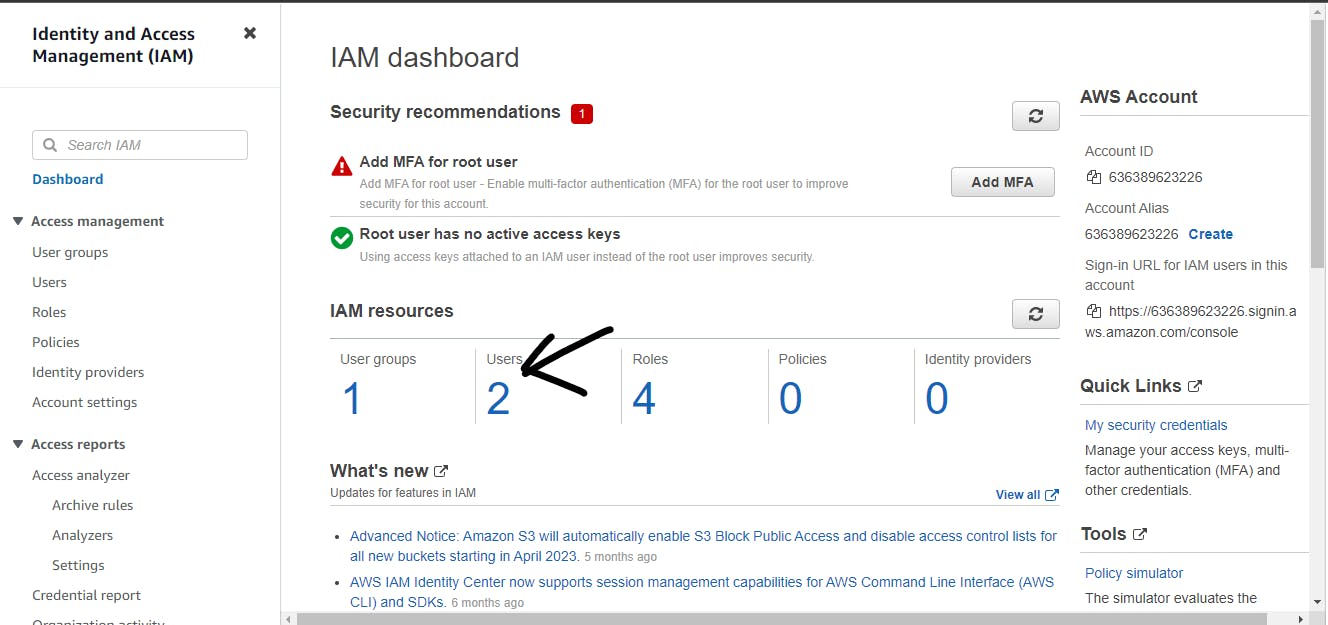
Locate your IAM user or create a new one if needed.
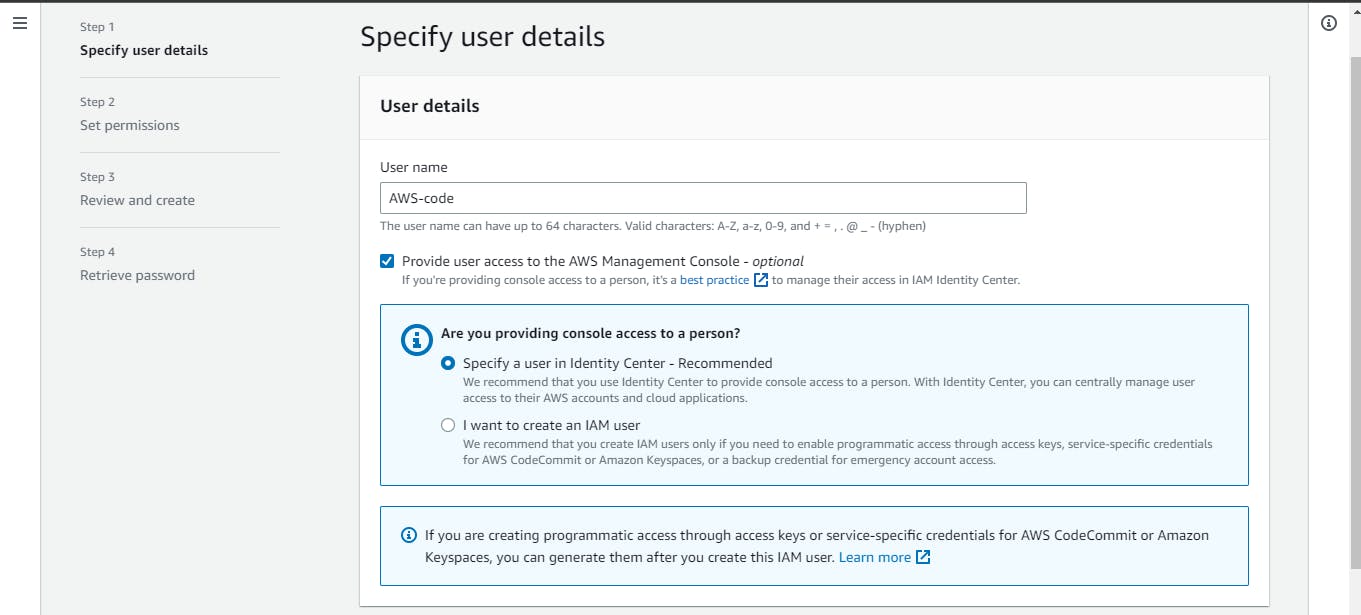
Under the "Security credentials" tab, click on "Create access key" to generate your access key ID and secret access key.
Copy the access key ID and secret access key to a secure location.
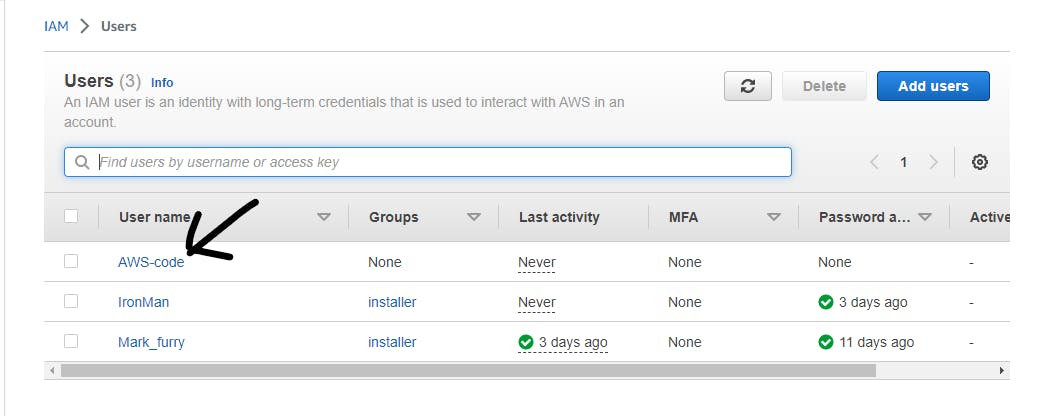
You need to setup GitCredentials in your AWS IAM.
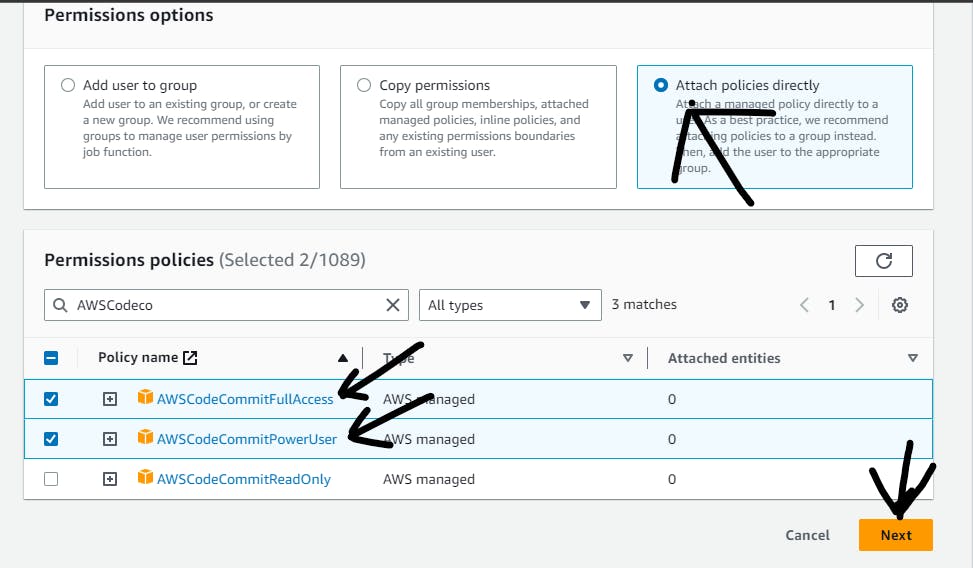
Navigate to the IAM section again

Provide the permission to the user for CodeCommit.
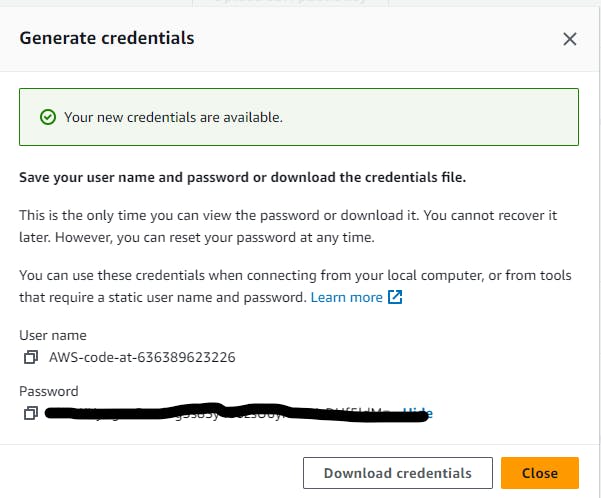
Then, navigate to the credential section of the user and generate username and password in order to login to the CodeCommit.
Now, let's clone the repository from CodeCommit to your local machine:
Navigate to the desired directory on your local machine where you want to clone the repository.
Run the following Git command, replacing
<repository_url>with the URL of your CodeCommit repository:
git clone <repository_url>

You will be prompted for your AWS IAM credentials. Enter the access key ID and secret access key generated earlier.
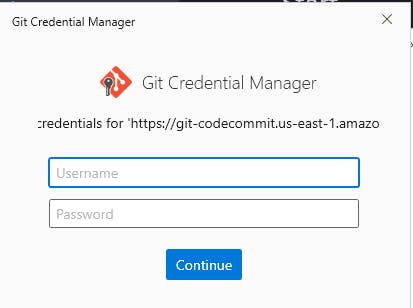
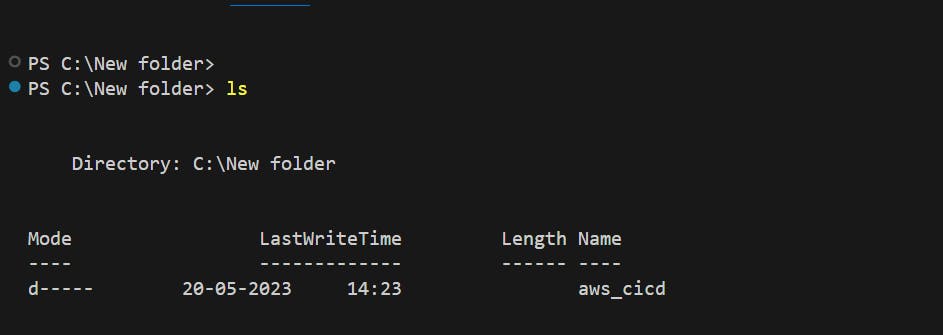
Congratulations!🤩🎇🎇🎇🎉🎉🥳🥳🥳🥳🥳🥳🥳🥳🥳 You have successfully set up a code repository on CodeCommit and cloned it on your local machine.
Task-02: Adding a New File, Committing Changes, and Pushing to CodeCommit
Now that you have the repository on your local machine, let's perform some essential tasks:
Open your preferred code editor and create a new file or make changes to an existing file within the cloned repository.
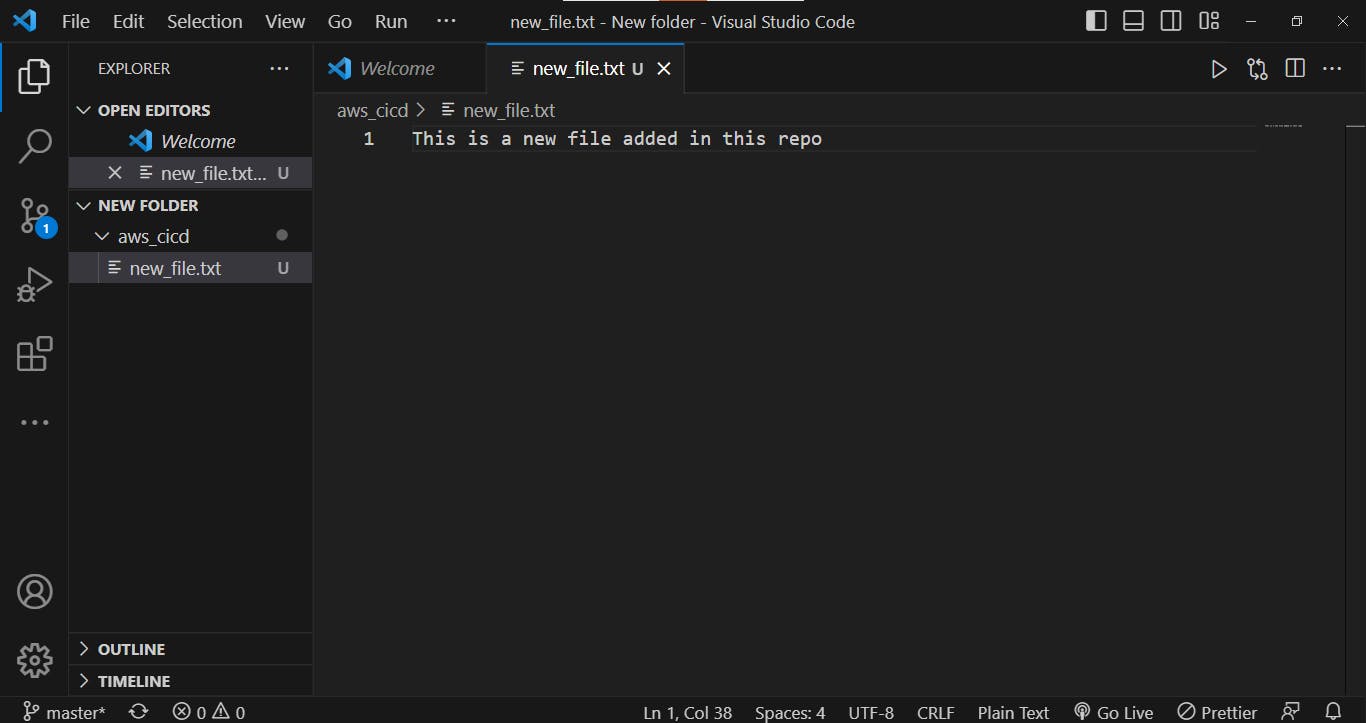
Save the changes and return to your terminal or command prompt.
To commit the changes to your local branch:
- Run the following Git commands within the repository directory:
git add .
git commit -m "Add/update file: <file_name>"
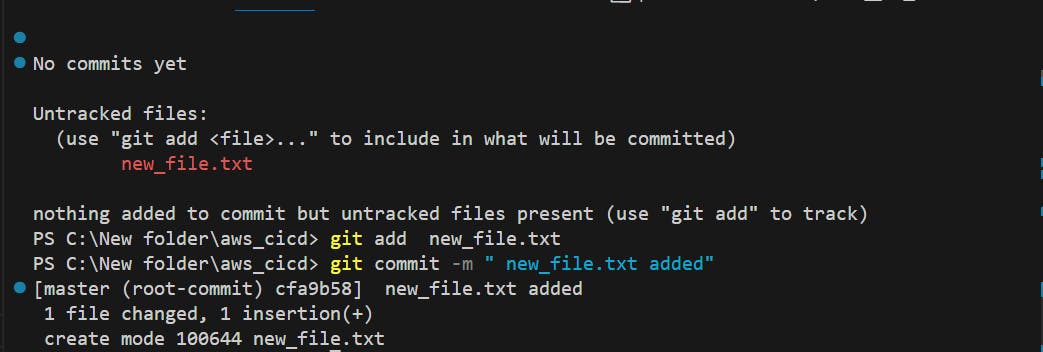
- Replace
<file_name>with the name of the file you added or modified.
To push the local changes to your CodeCommit repository:
- Run the following Git command:
git push origin <branch_name>
- Replace
<branch_name>with the name of the branch you want to push the changes to. Typically, the default branch is "master" or "main."
Conclusion:
AWS CodeCommit offers developers a reliable and scalable solution for managing source code and collaborating on projects. In this blog post, we covered the basics of setting up a code repository on CodeCommit, cloning it on your local machine, and performing essential tasks such as adding a new file, committing changes, and pushing them to your CodeCommit repository. With CodeCommit, you can streamline your software development workflow, set up continuous integration and deployment pipelines, and ensure secure and efficient version control for your projects.

